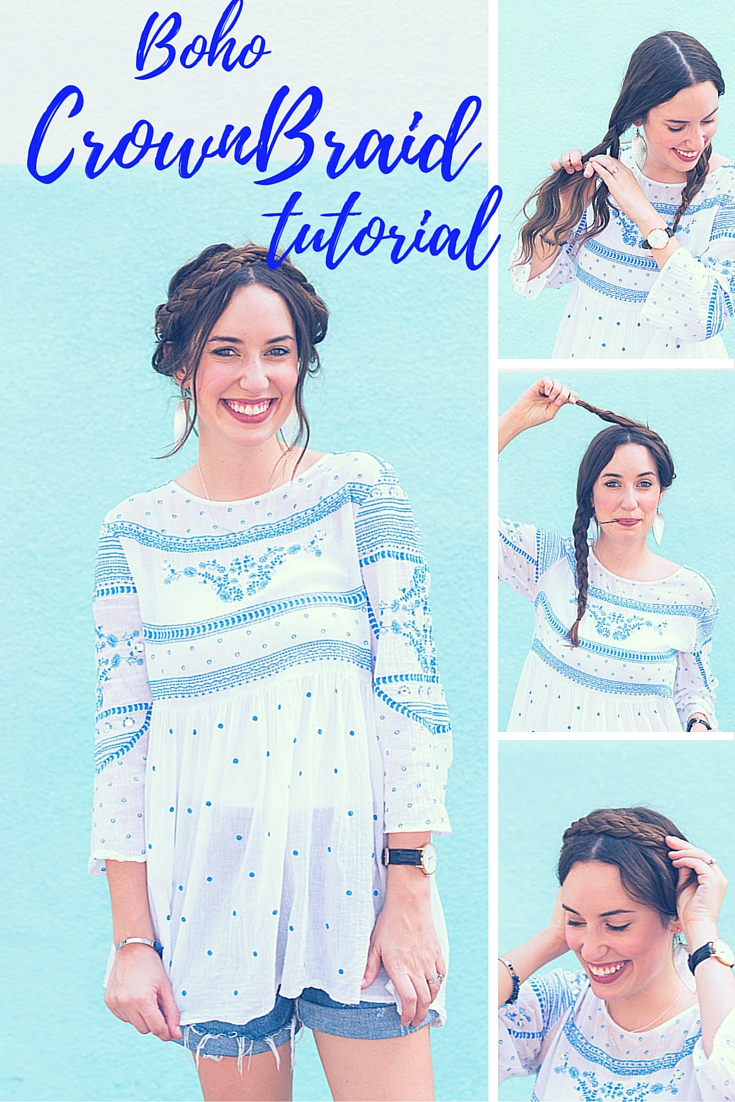
Today I’m sharing something a little different than my typical fashion posts. I’m doing a tutorial for easy-peasy Boho Crown Braids. AND to top it off, I’m giving away an entire kit from Sally Beauty to create your own Boho Braids, at the bottom of this post!

Let me start by saying, I can literally do only 4 hair styles by myself. Down & straight. Down & wavy. A ponytail. & Crown Braids. So that’s basically proof that this tutorial I’m about to give is easy as pie!
Step 1: Prep those Locks
Start with dry “dirty” hair. Wavy is preferred, but straight works too!
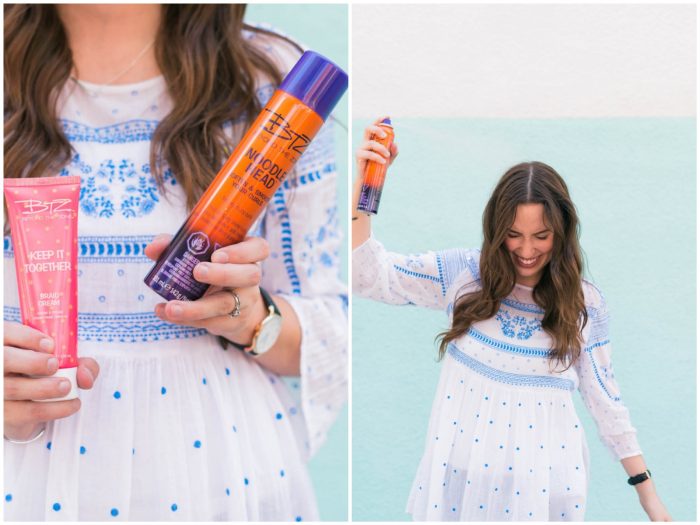
I always spritz a bit of anti-frizz spray before I do anything, to calm the crazy. (Thanks, Houston humidity!) I’m loving Noodle Head Frizz Defying Shine Spray. It’s a great “prep” spray that softens and smoothes your curls.
Step 2: Prep Some More!
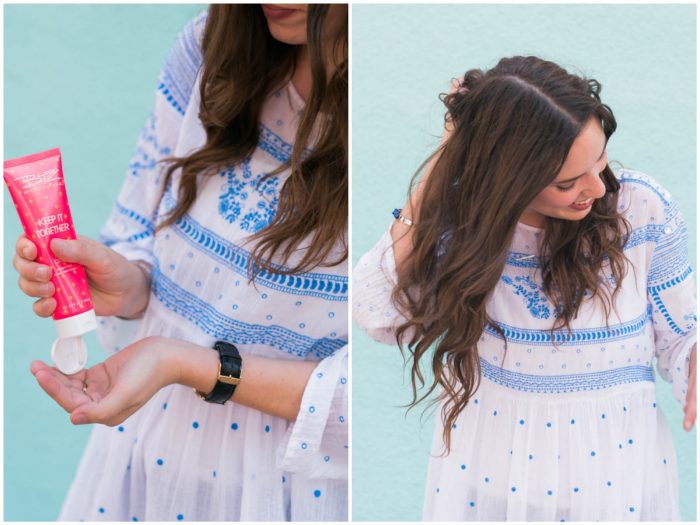
Before I braid, I like to apply BTZ’s Keep it Together Braid Cream. (Yes, braid cream is a thing! & it’s marvelous!) My hair is layered, so often times the ends of different layers pop out of my braid making it look much messier than the “messy-chic” I’m usually going for.
So swoosh in that braid cream all over! You can apply to both dry & wet hair. With dry hair, I try not to use too much so it doesn’t feel gooey. A little goes a long way.
Step 3:
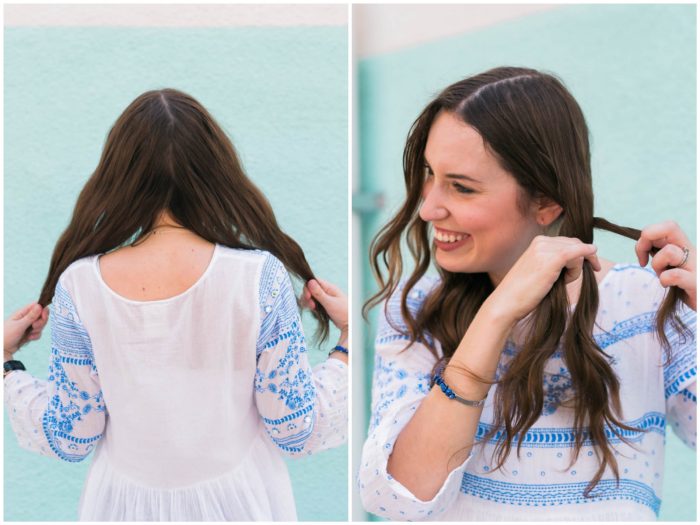
Part your hair in the middle. And it’s totally okay if it’s not a perfectly straight middle part. Remember, we’re going for boho!
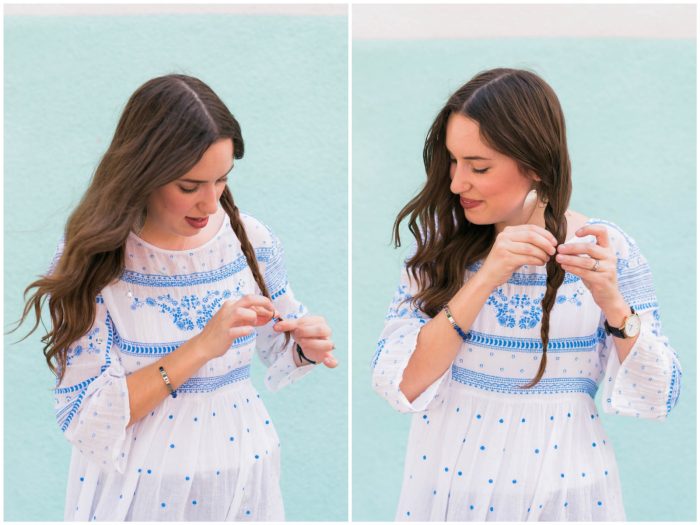
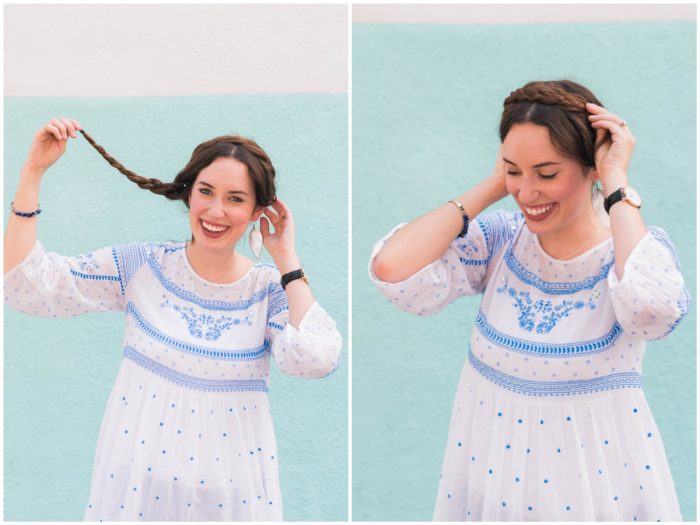
Step 4: It’s Time to Braid
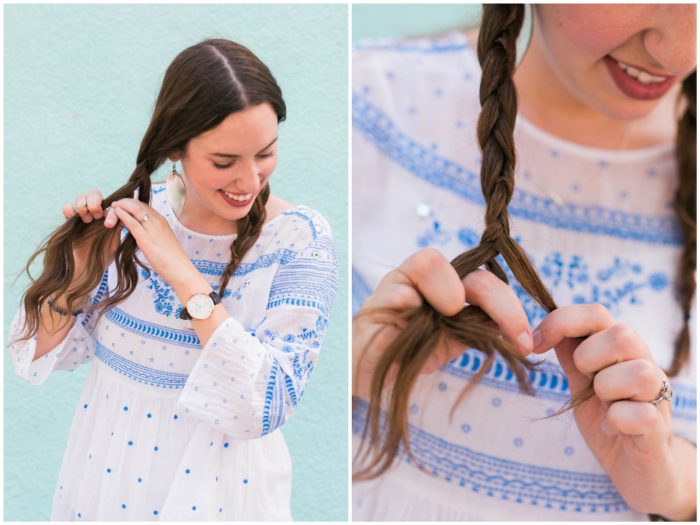
Braid each side and secure with a small elastic rubber band.
Once each side is braided, loosen your braids a bit to create a thicker/fuller look to your braid
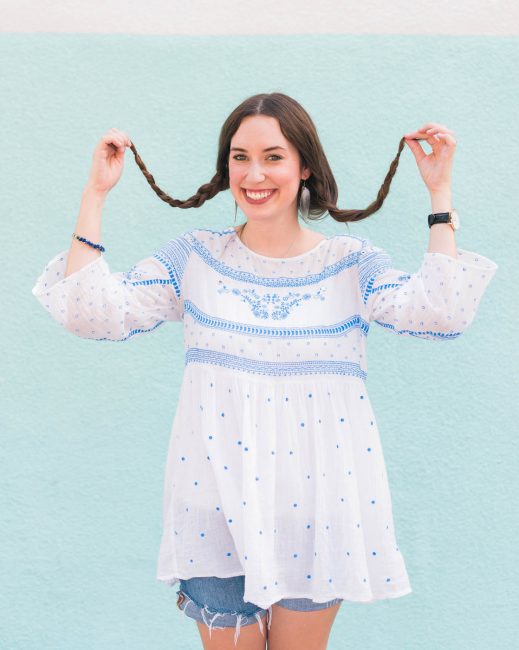
Step 5: Give Yourself a Pippy Longstocking Moment
You’ve earned it!
Step 6: It’s Time to Pin
Grab more bobby pins than you think you’ll need, and start pinning those braids down!
I typically just stab pins here and there, with no rhyme or reason, trying to secure it all in place. The most important thing to remember is to hide the rubber bands at the ends of your braids.
I’ll often end up having to pin a bunch of stray hairs and funky looking pieces at the back of the braids too.
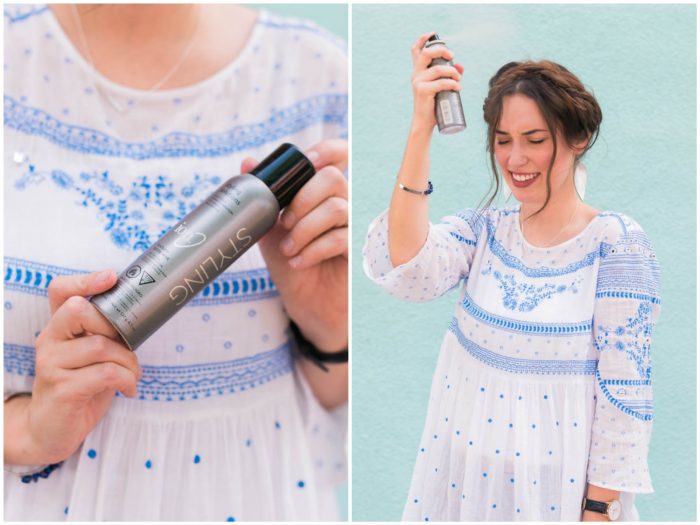
Step 7: Spray It Down
Once everything feels secure, pull down some strands in the front to frame your face. Then go at it with your hairspray!
I just started using ion Styling Solution’s Textured Spray Wax. First of all, it smells divine, and second of all, it not only gives a firm hold but also adds texture. A great two-in-one for less than $10!
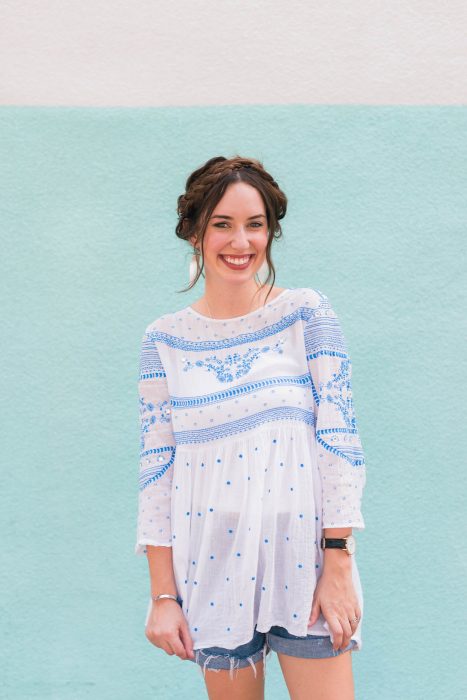
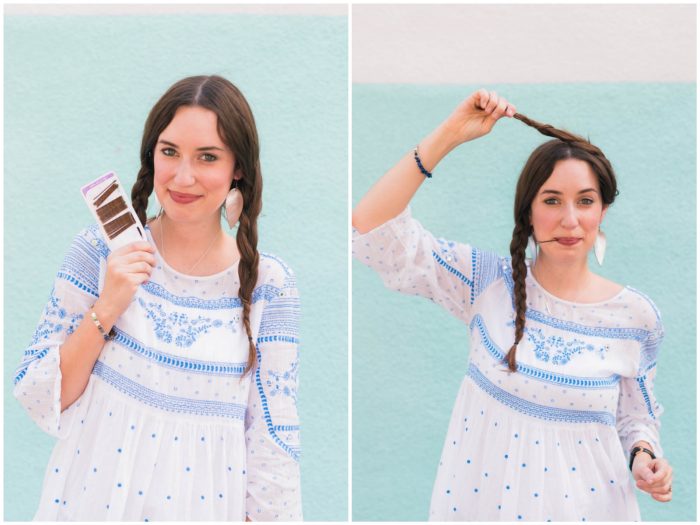
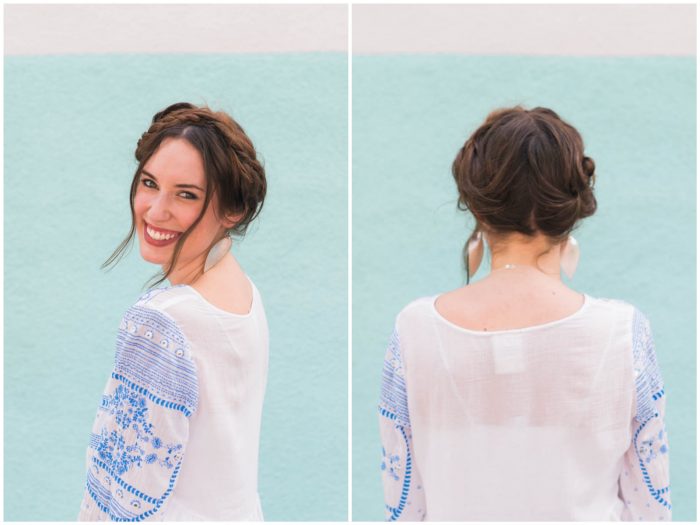
Ta-da! Boho Crown Braids in 7 Easy Steps!
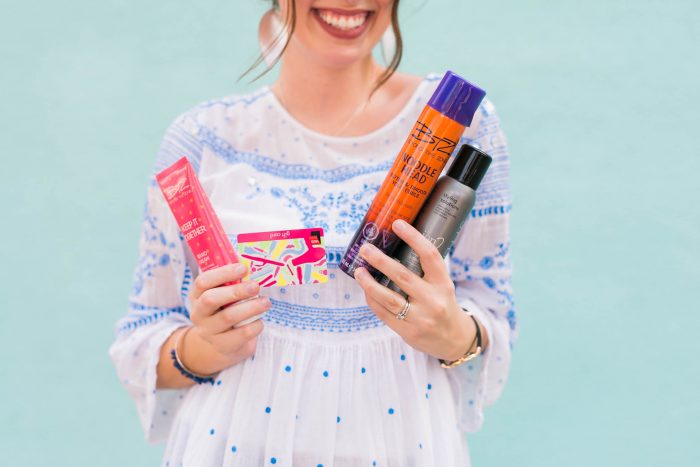

Feeling inspired to do this ‘do on your own? Today I’m giving away all of the tools I used above to achieve this very same look! I’m also giving away a $50 gift card to shop Sally Beauty! (Think of all the gel nail polishes you can buy with that! Swoon!)
To enter, just enter your email and follow the steps in the rafflecopter giveaway below. Giveaway ends a week from today!(Aka, next Thursday!) Goooooood luck!
—
alice
Photos by Lauren Beatty
*Thank you to Sally Beauty for sponsoring this post. All opinions are my own. Thanks for supporting the brands that make this blog possible!*