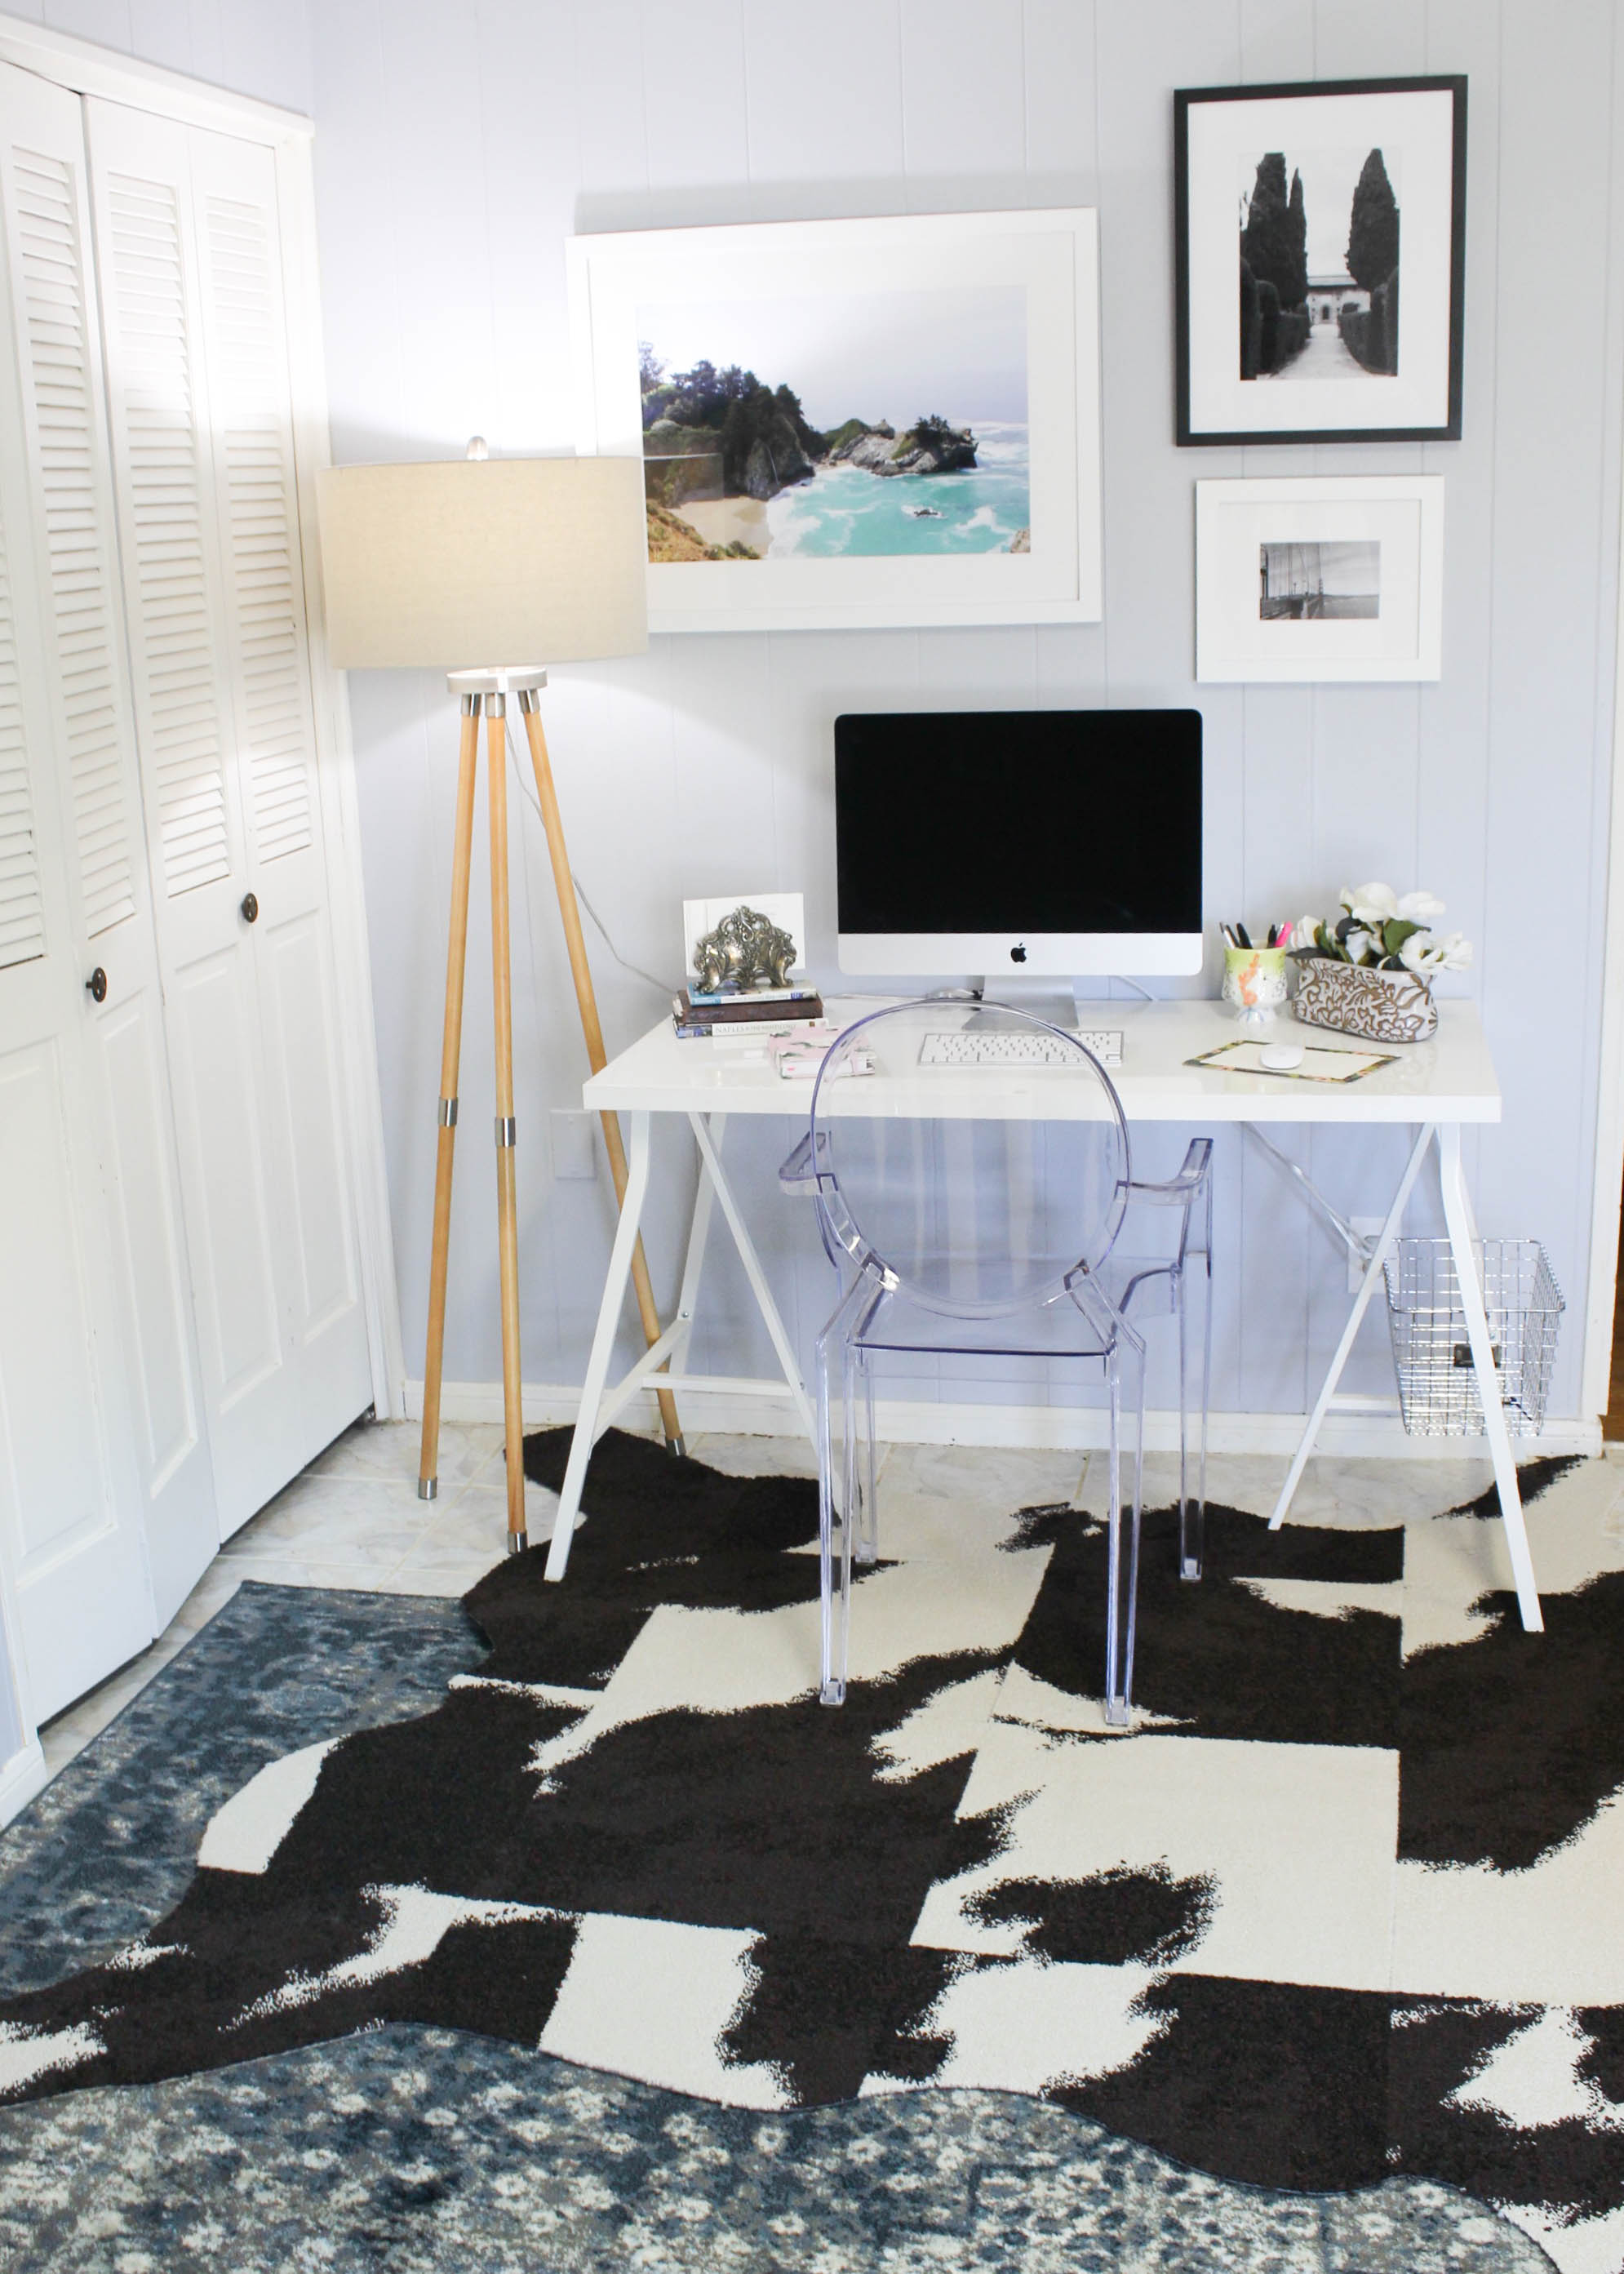
faux hide rug || desk || ghost chair || lamp || blue rug || gallery wall frames || planner
I’ve mentioned on here a time or two that Patrick and I recently moved into a new home! After all of the decorating and touch ups here and there, we’re finally starting to feel settled and I’m ready to share bits & pieces of it with you all.
(Starting with a fun DIY & a promo code just in time for the holidays!)
We love a home with a lot of character, so we picked a 1960s mid-century rancher to become our “nest” for the next few years! 1960s homes aren’t necessarily move-in-ready, so we had a lot to do to make it our own. Painting the walls was number one! Luckily, the majority of the house has the most beautiful hardwood floors. Our large living room, however, was wall-to-wall stark white tile, which really wasn’t our thing.
A quick fix called for a large area rug to fill the space. And with it being such a big room, our living room furniture didn’t even fill the entire area…..which is why we decided to make this little nook in the photo above our home office.
To give the space more character, we framed some of our favorite travel photos from Framebridge above the desk. We also added a DIY faux cowhide rug from FLOR to really define this section of the room.
Today I’m sharing a step-by-step tutorial on how to create your own cowhide area rug with FLOR carpet & a special discount code from Framebridge to get 15% off your next purchase.
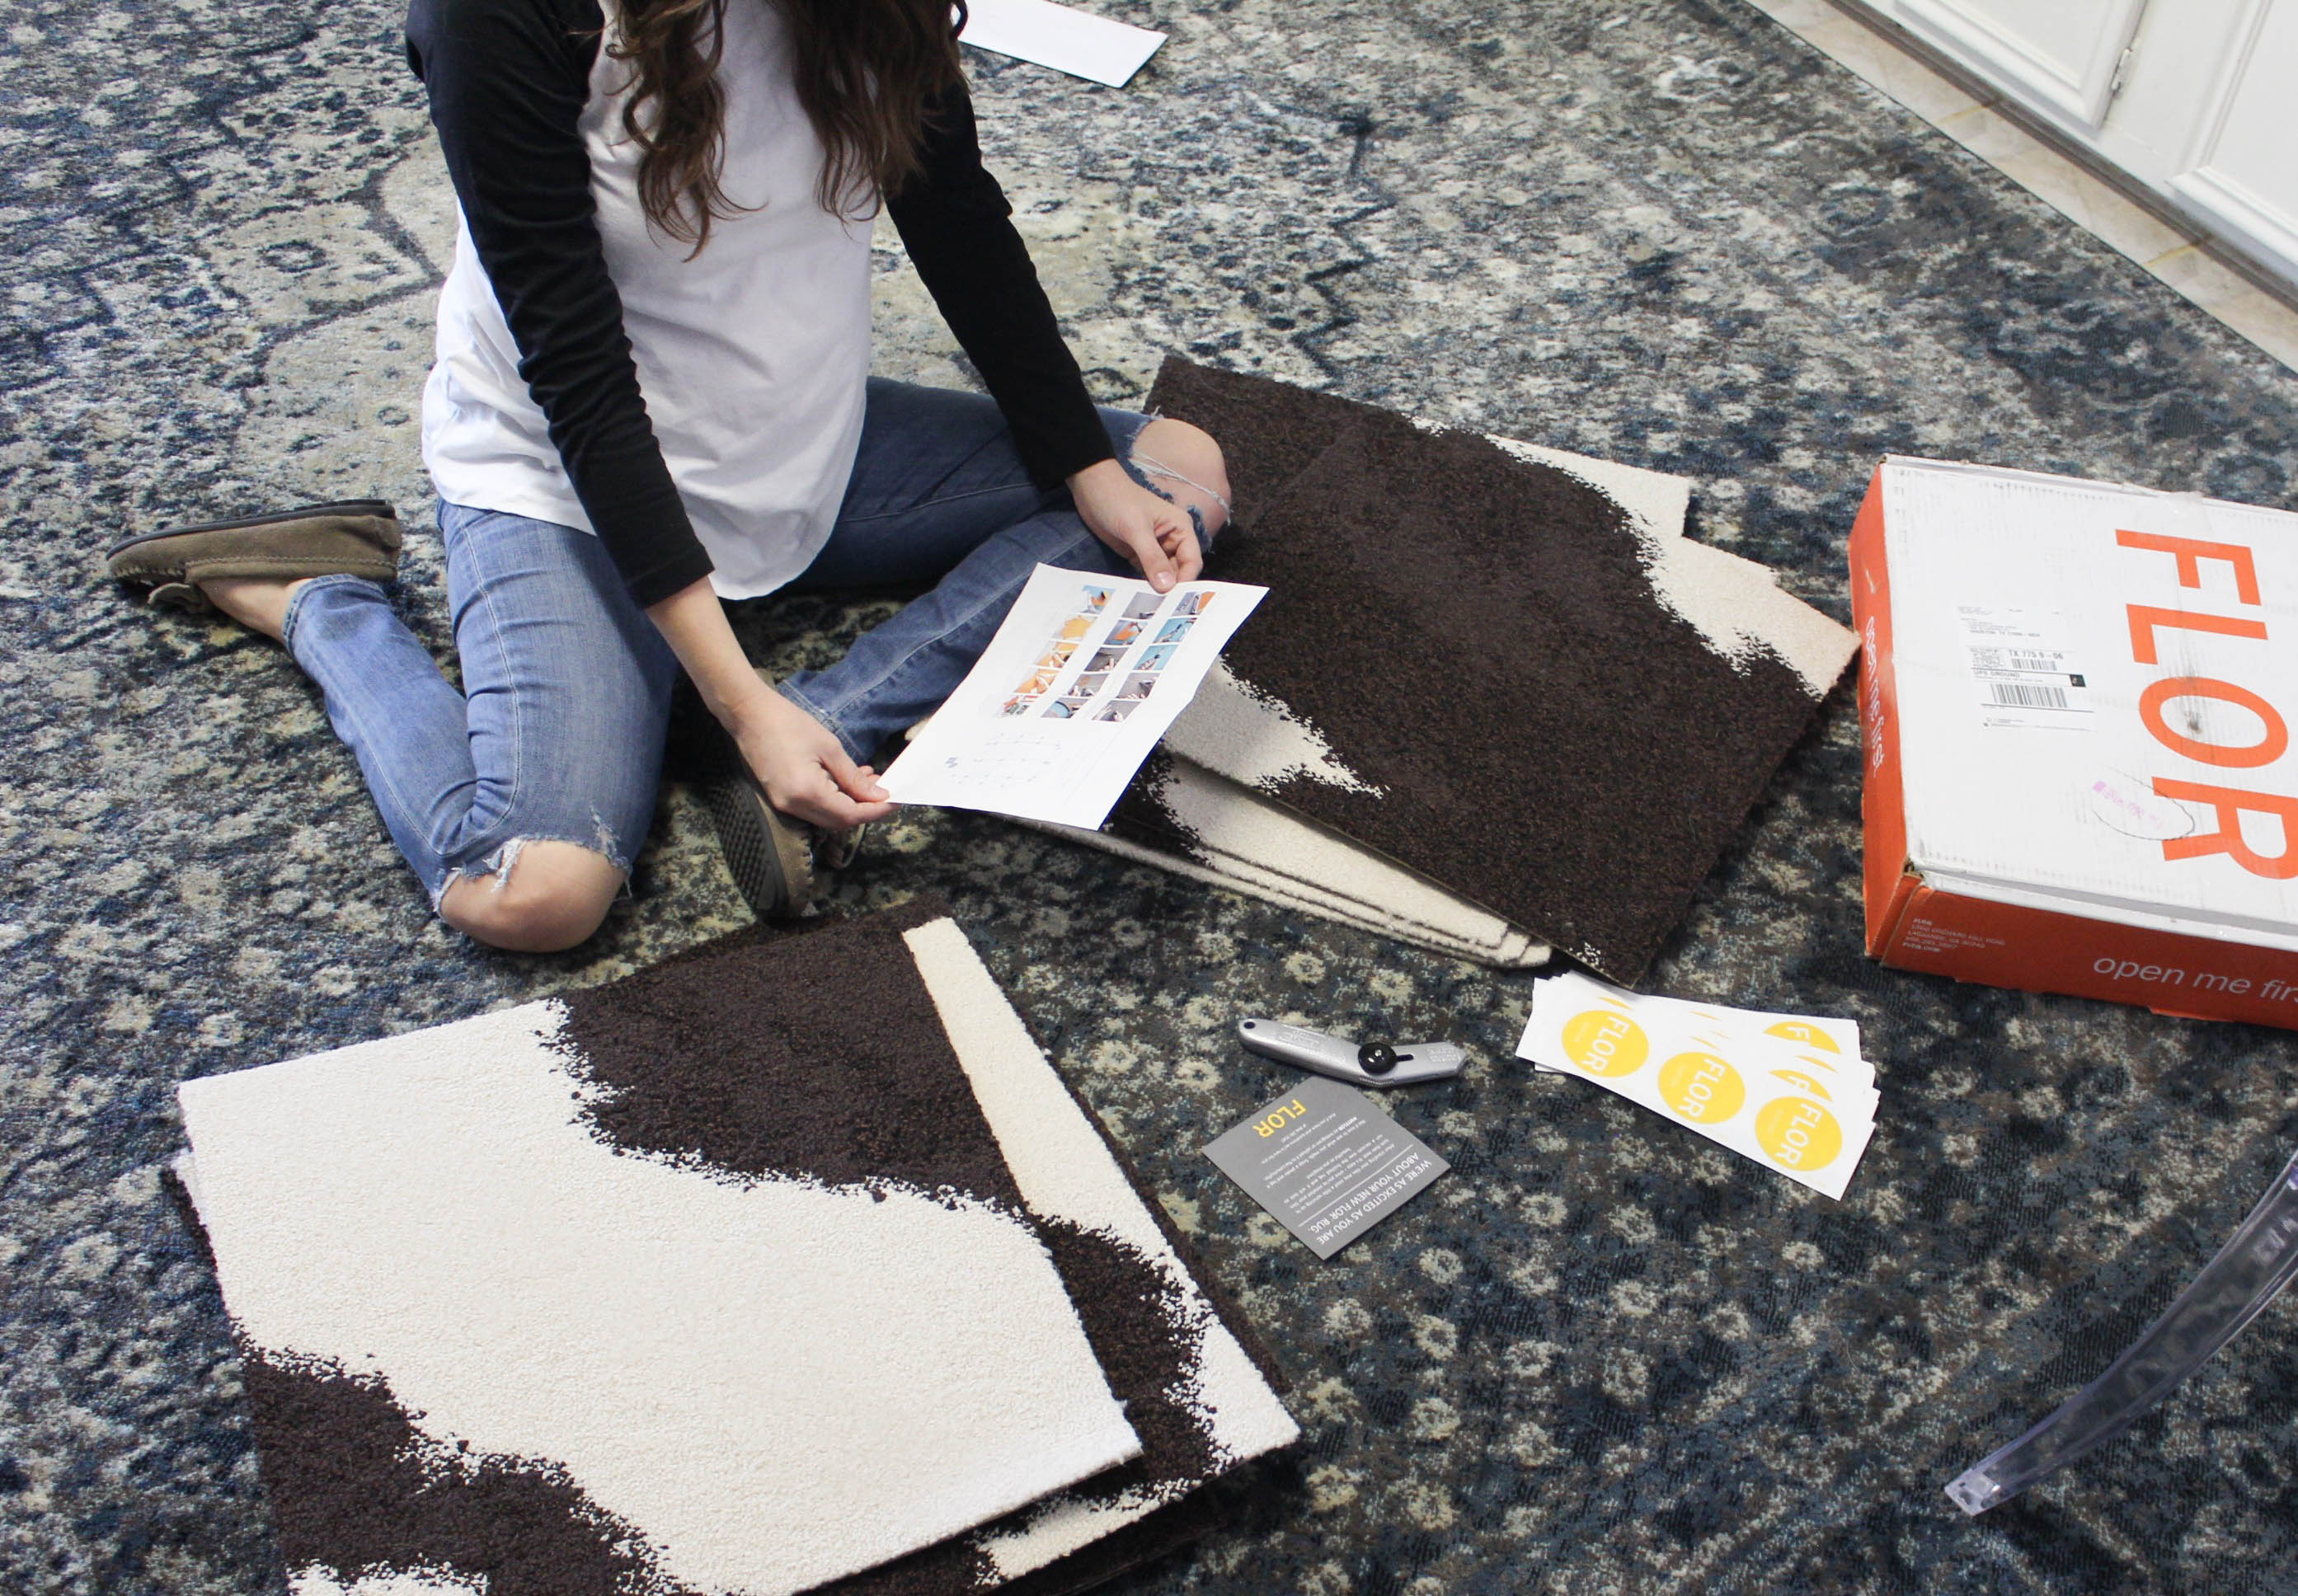
If DIY-ing isn’t really your thing, not to fear – this cowhide rug kit from FLOR includes step-by-step instructions to get you from start to finish.
FLOR makes fun industrial-like carpet squares that are inteded for use in the home or wherever else you roam. The best part about them is that they’re tough & washable. (Which is great when you’ve got two goldens!)
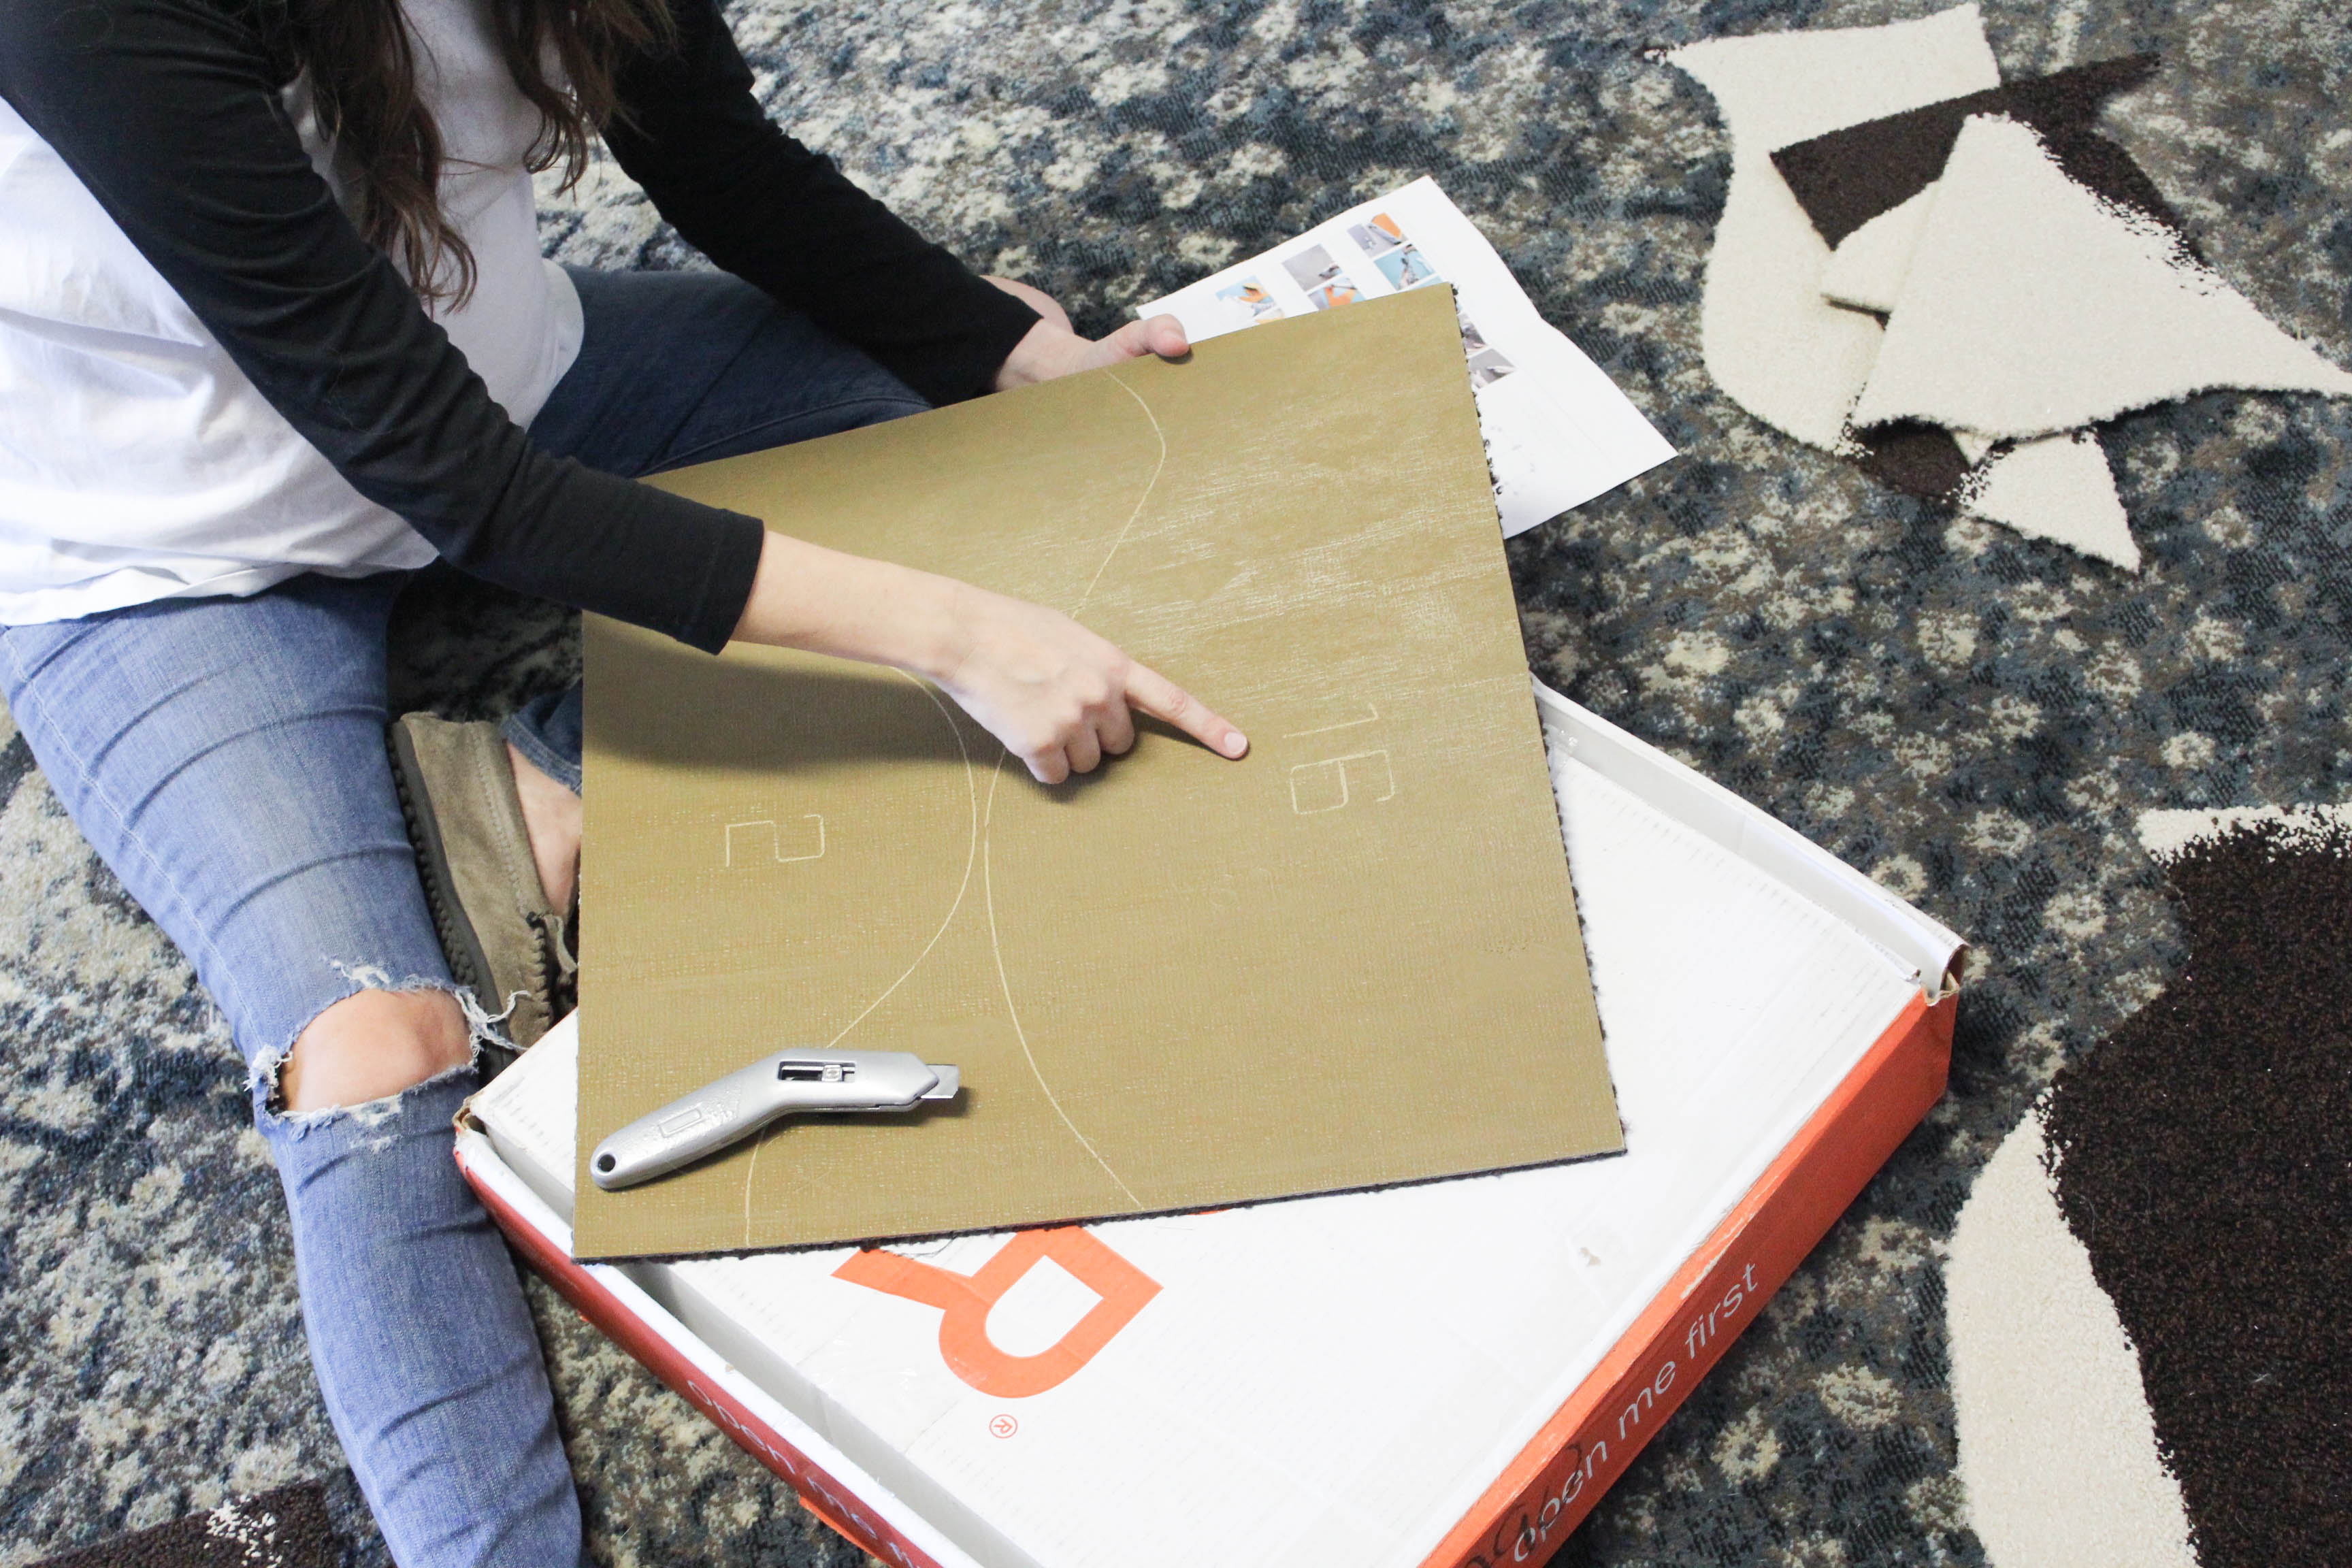
The bottom of each square includes a piece of the hide pattern etched on the back, as well as a corresponding number so you’ll know where to place each piece.
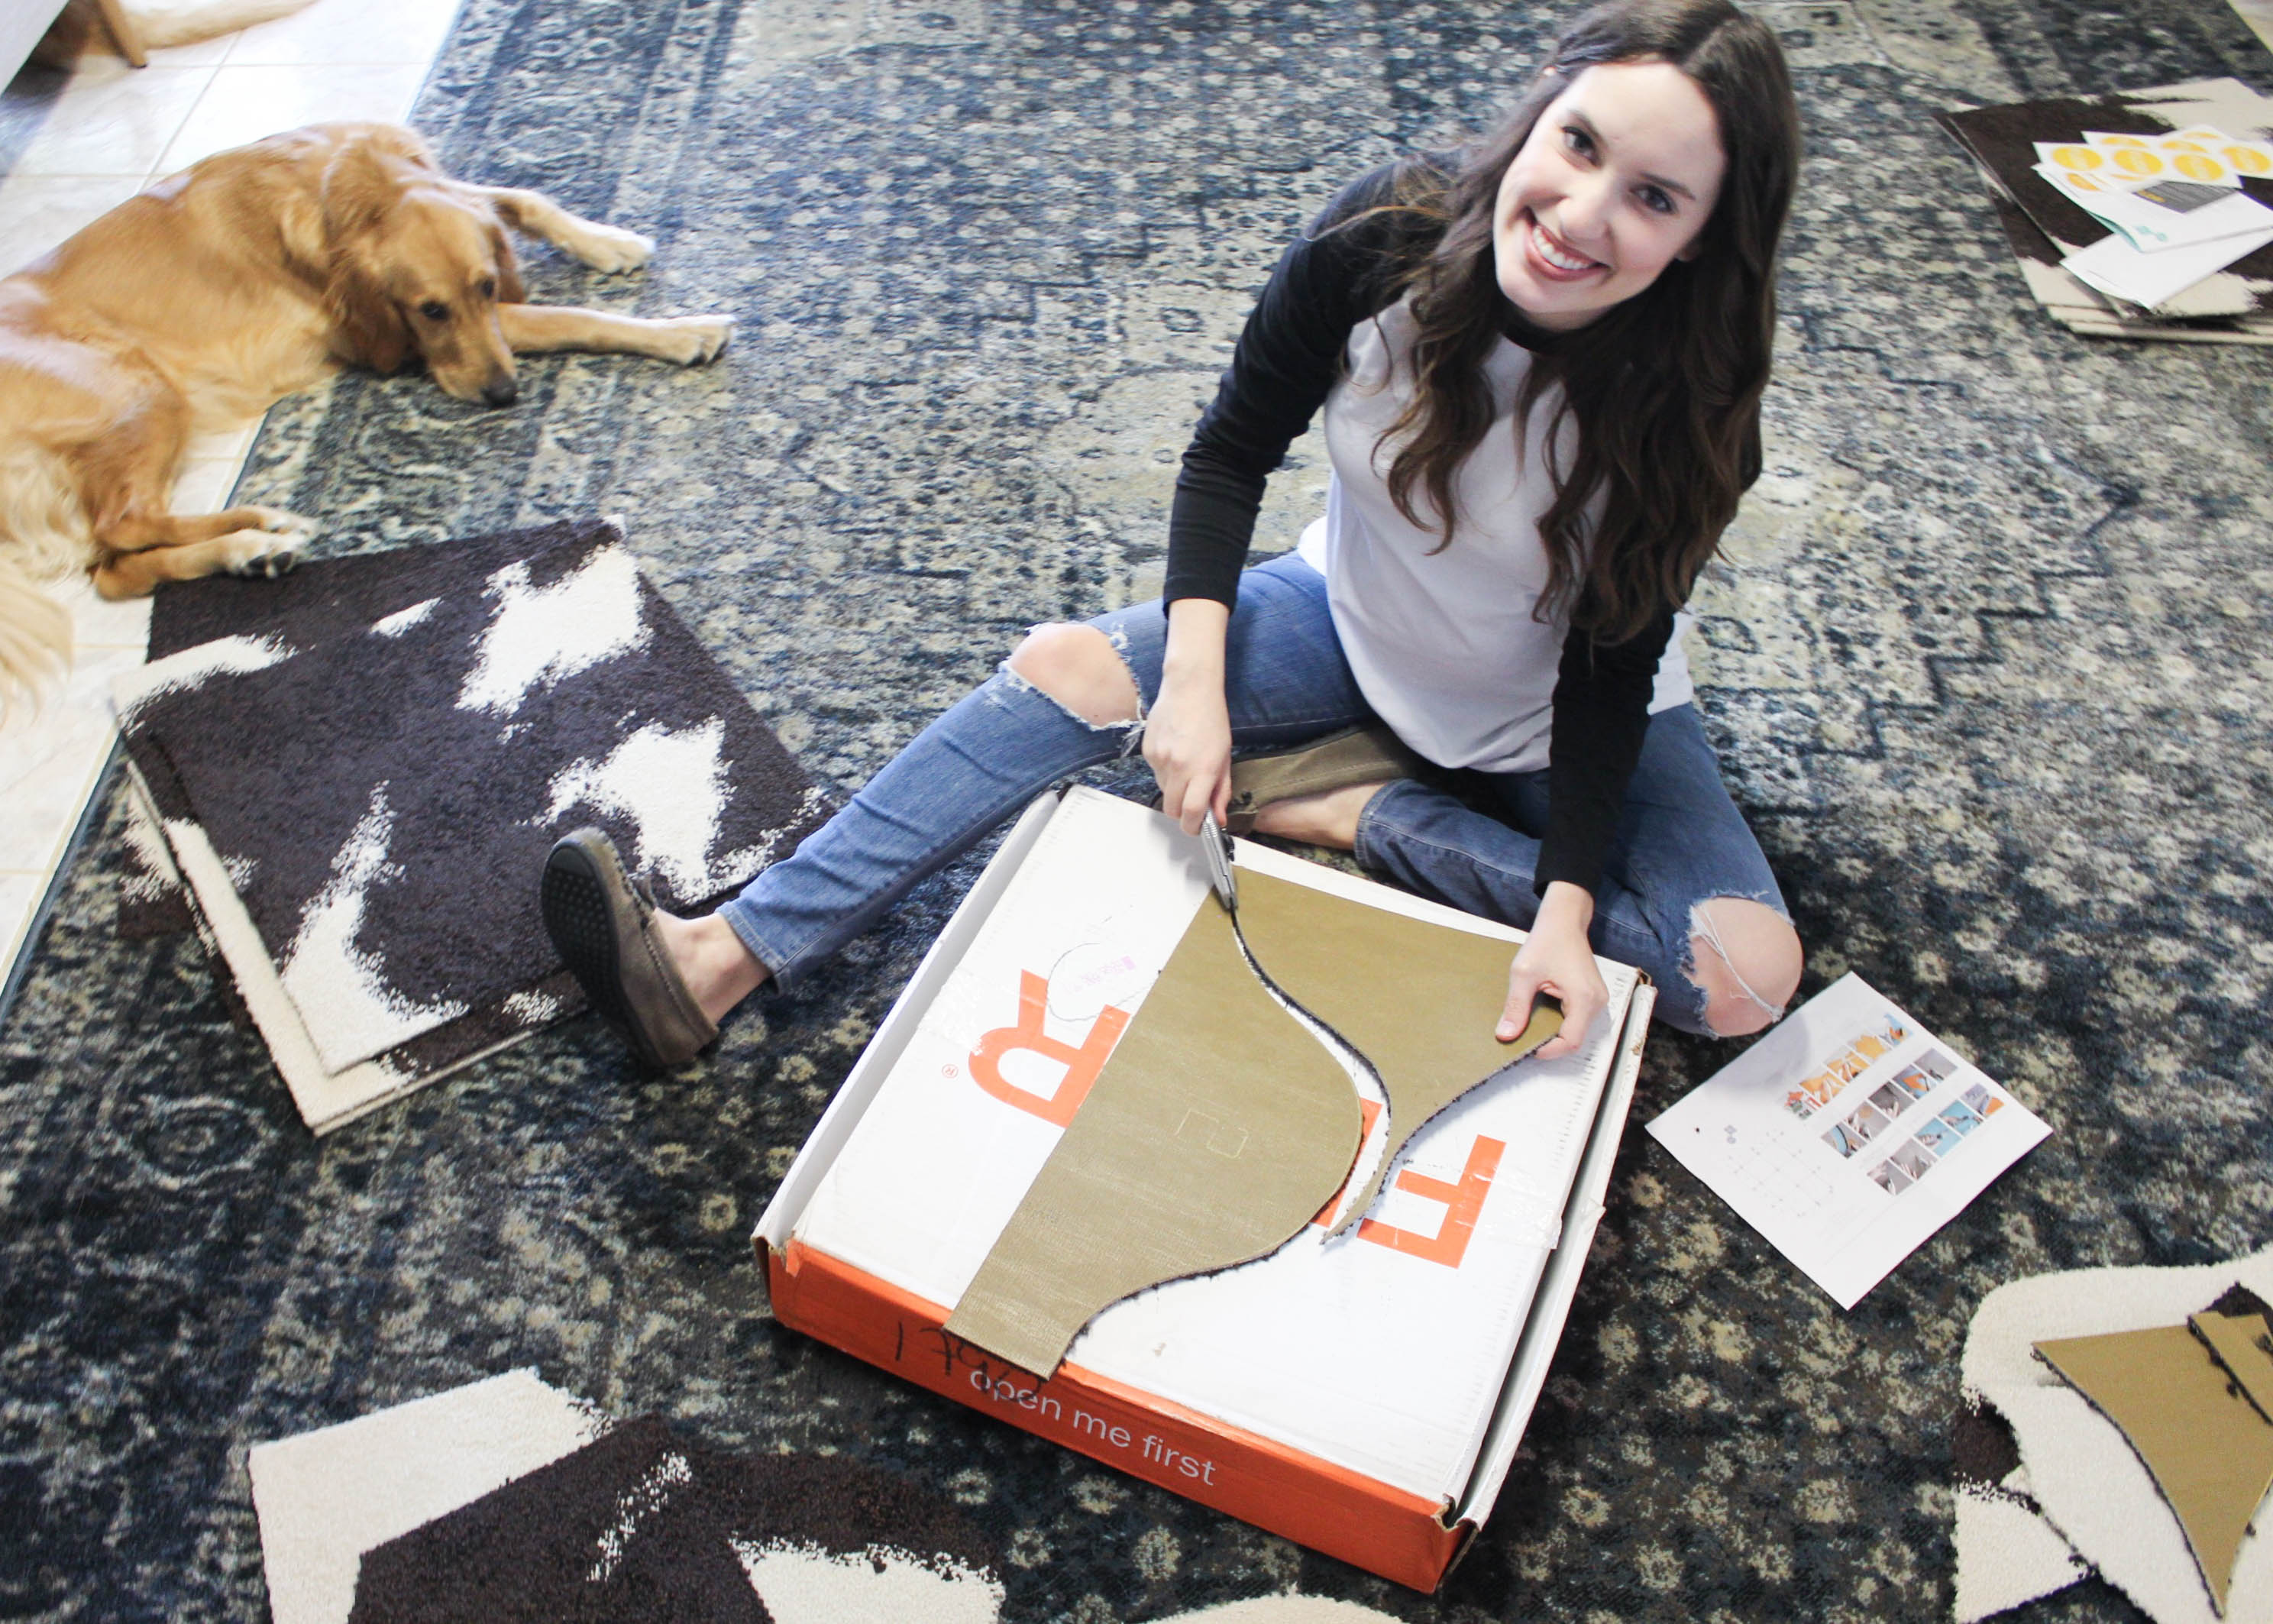
Marigold happily supervised while I cut out each piece.
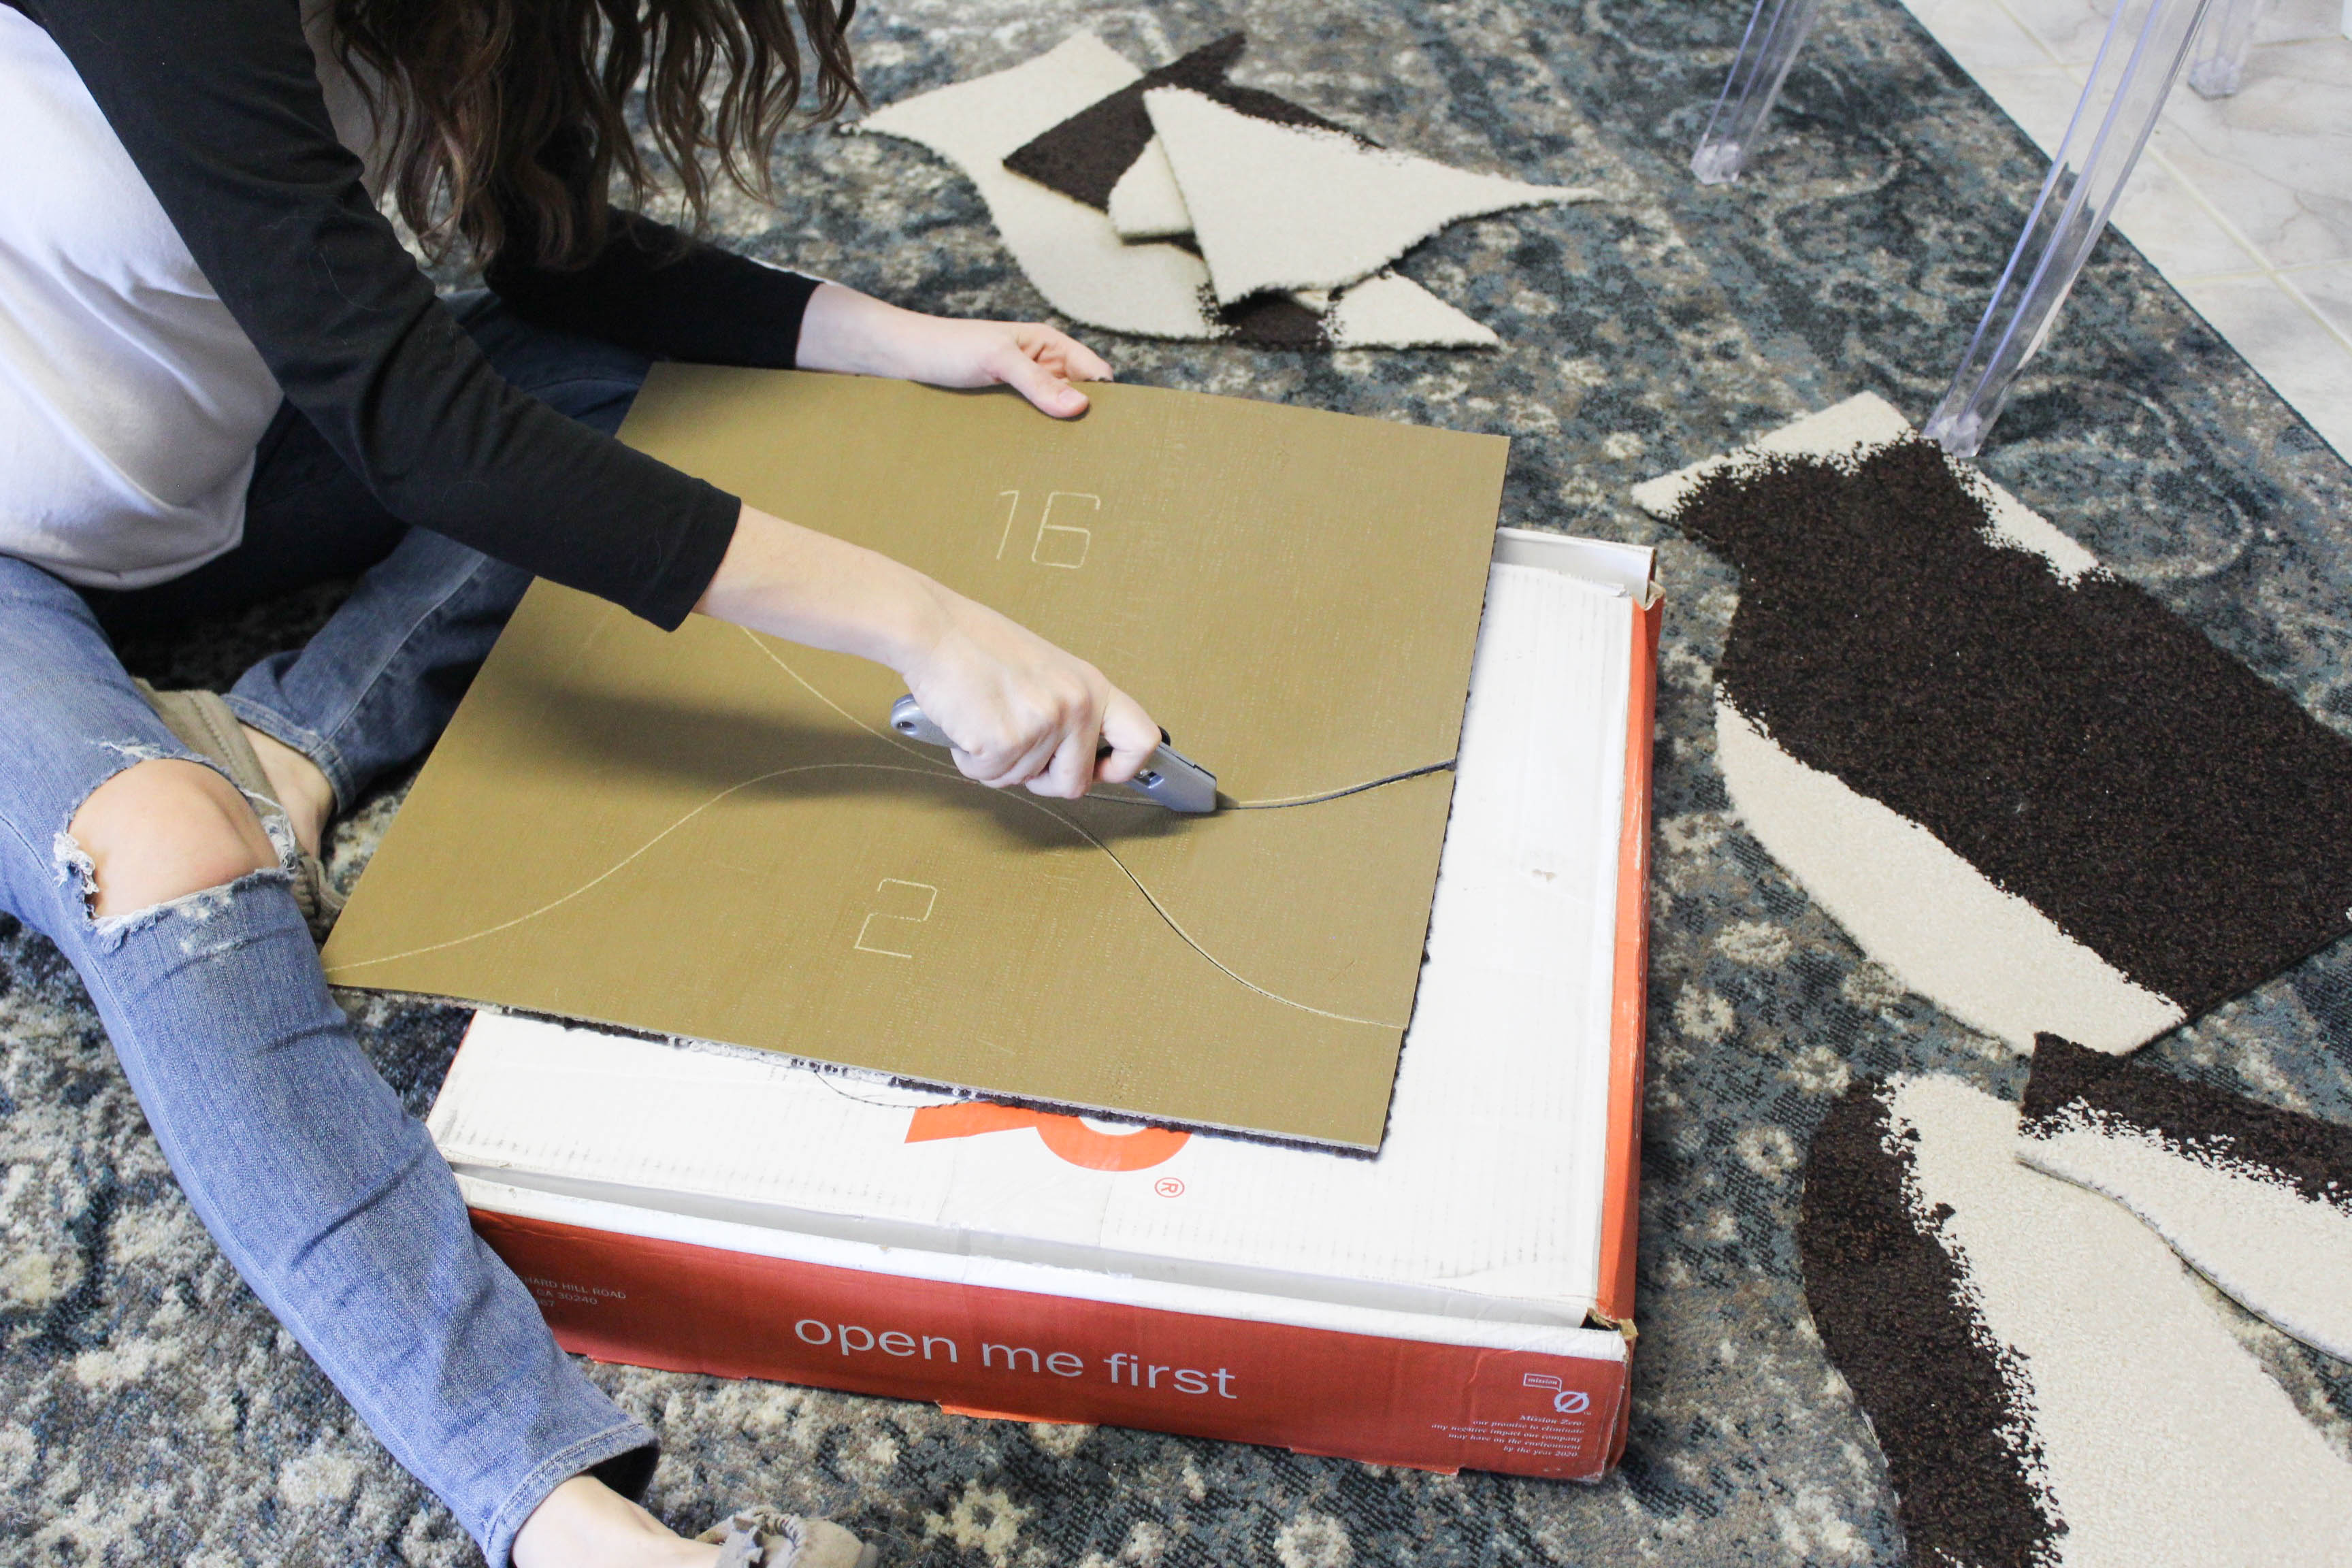
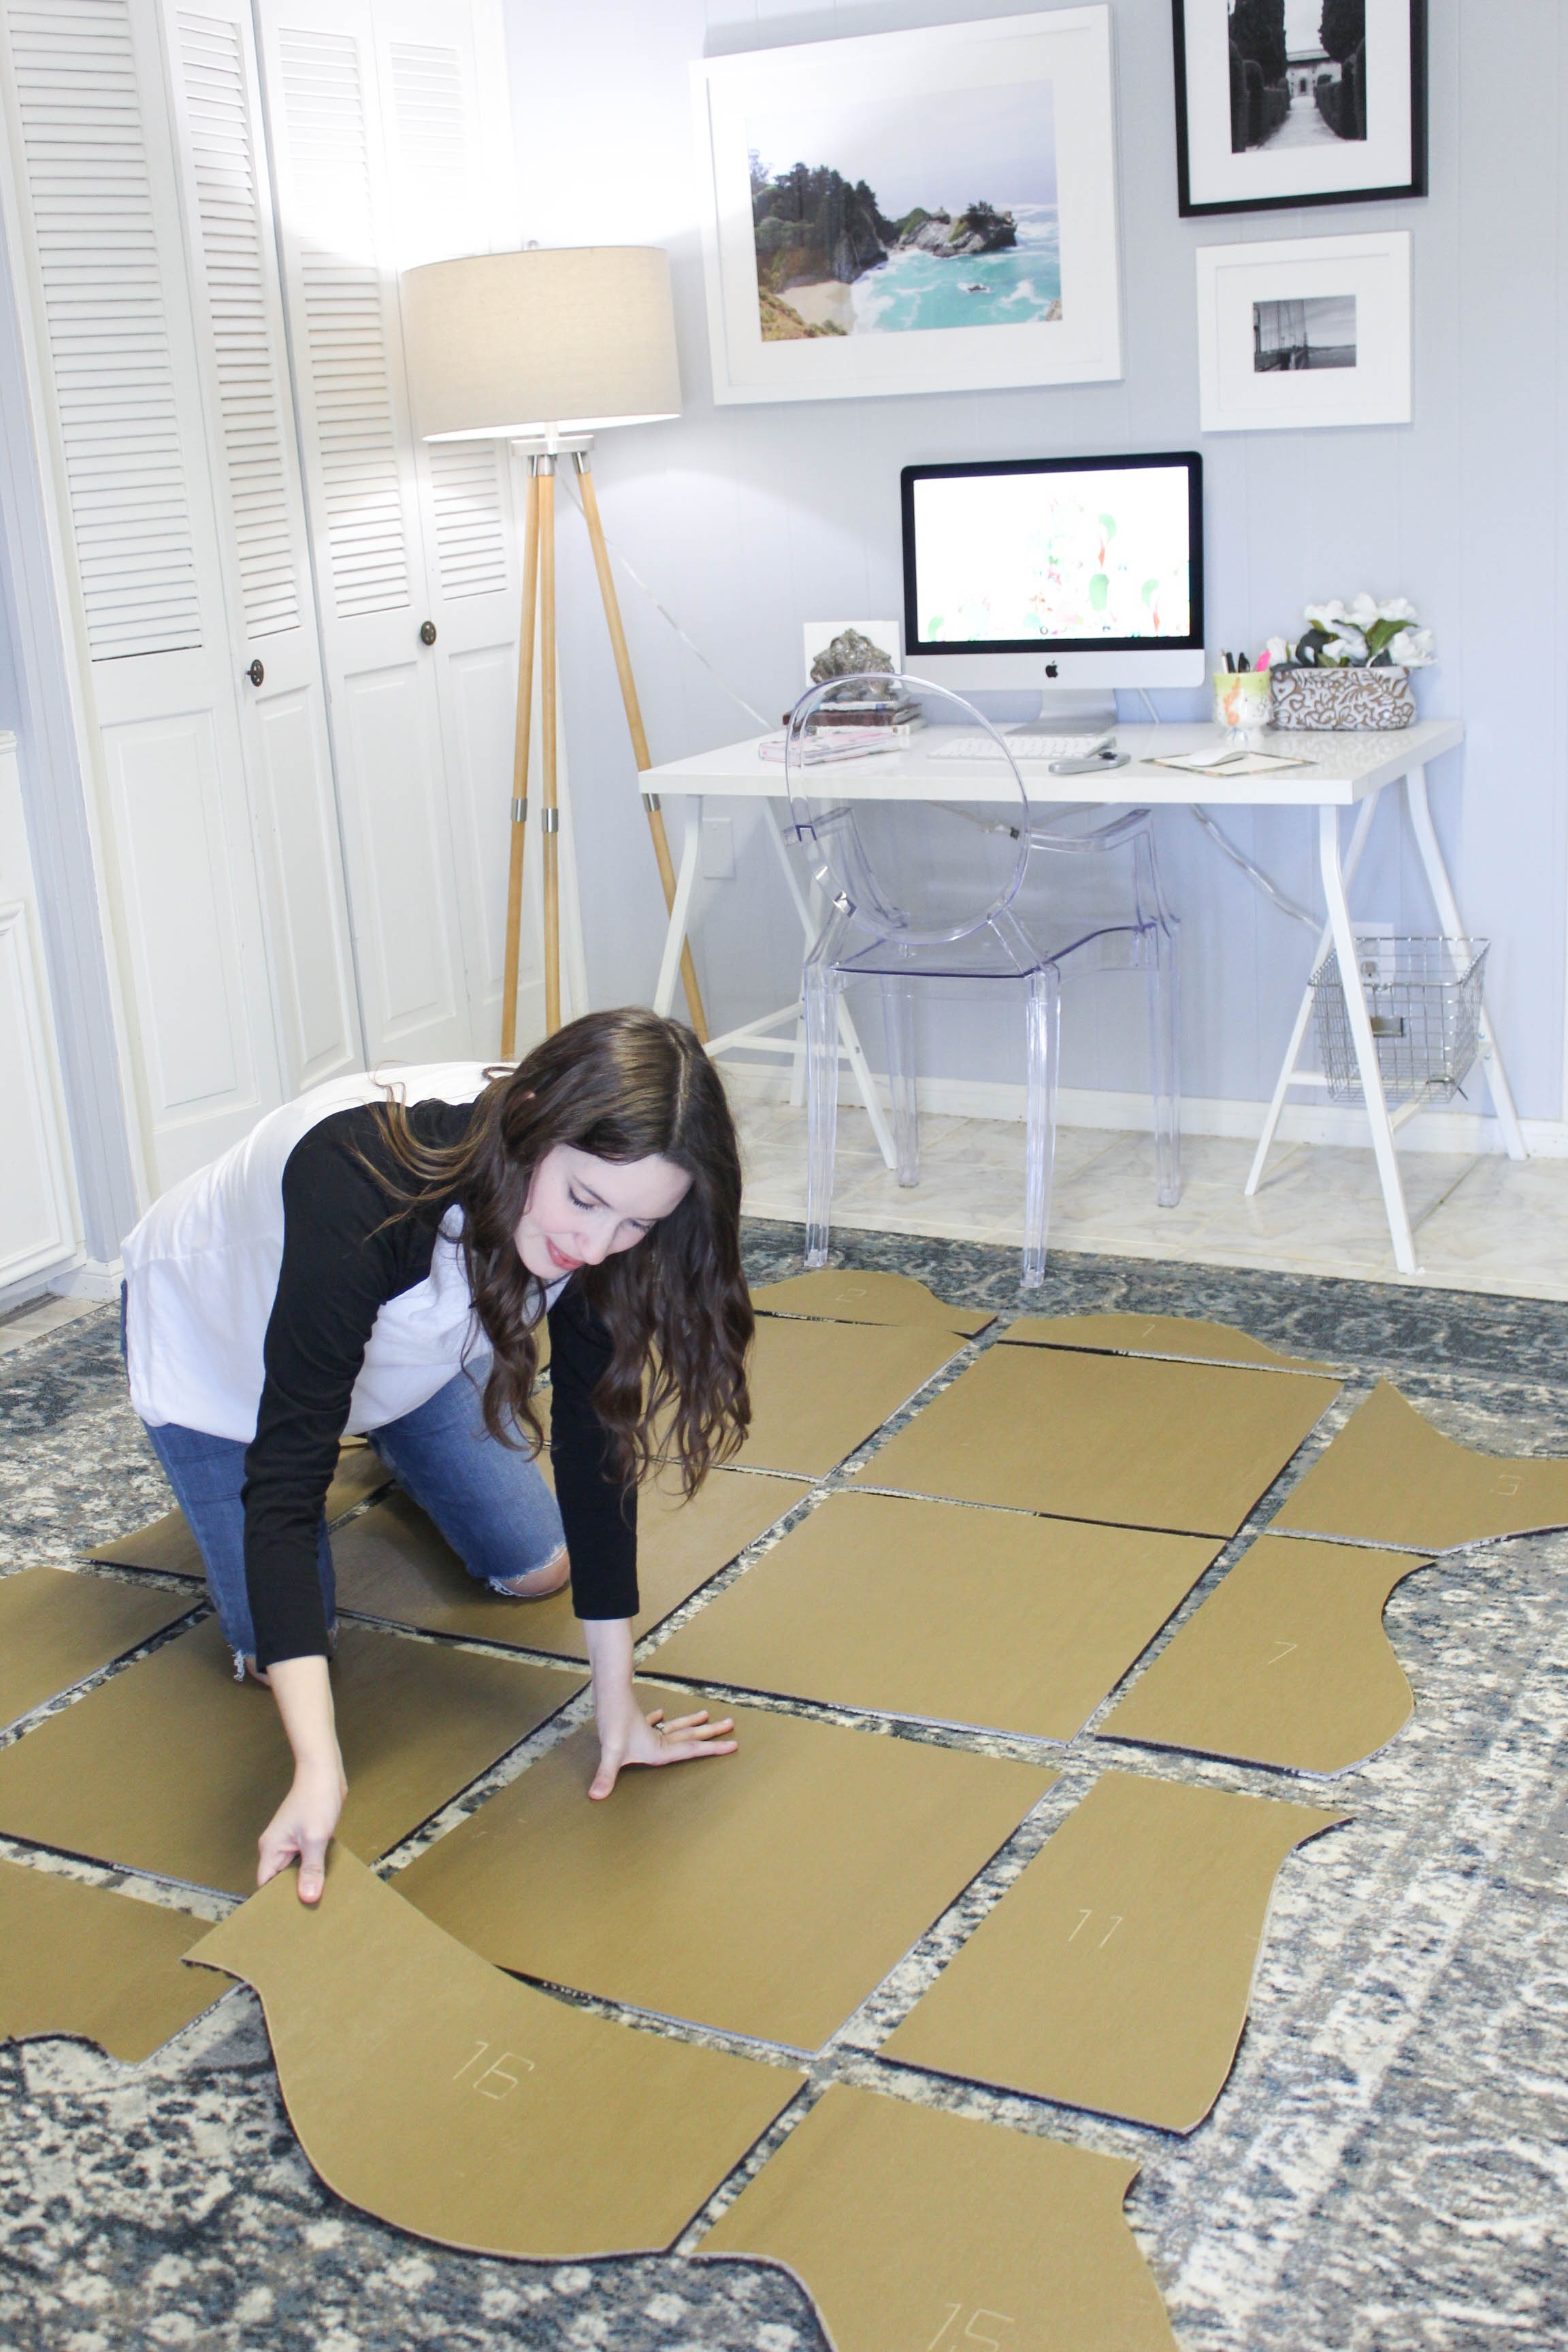
Once each piece is cut, I arranged them all upside down to match the photo in the instructions.
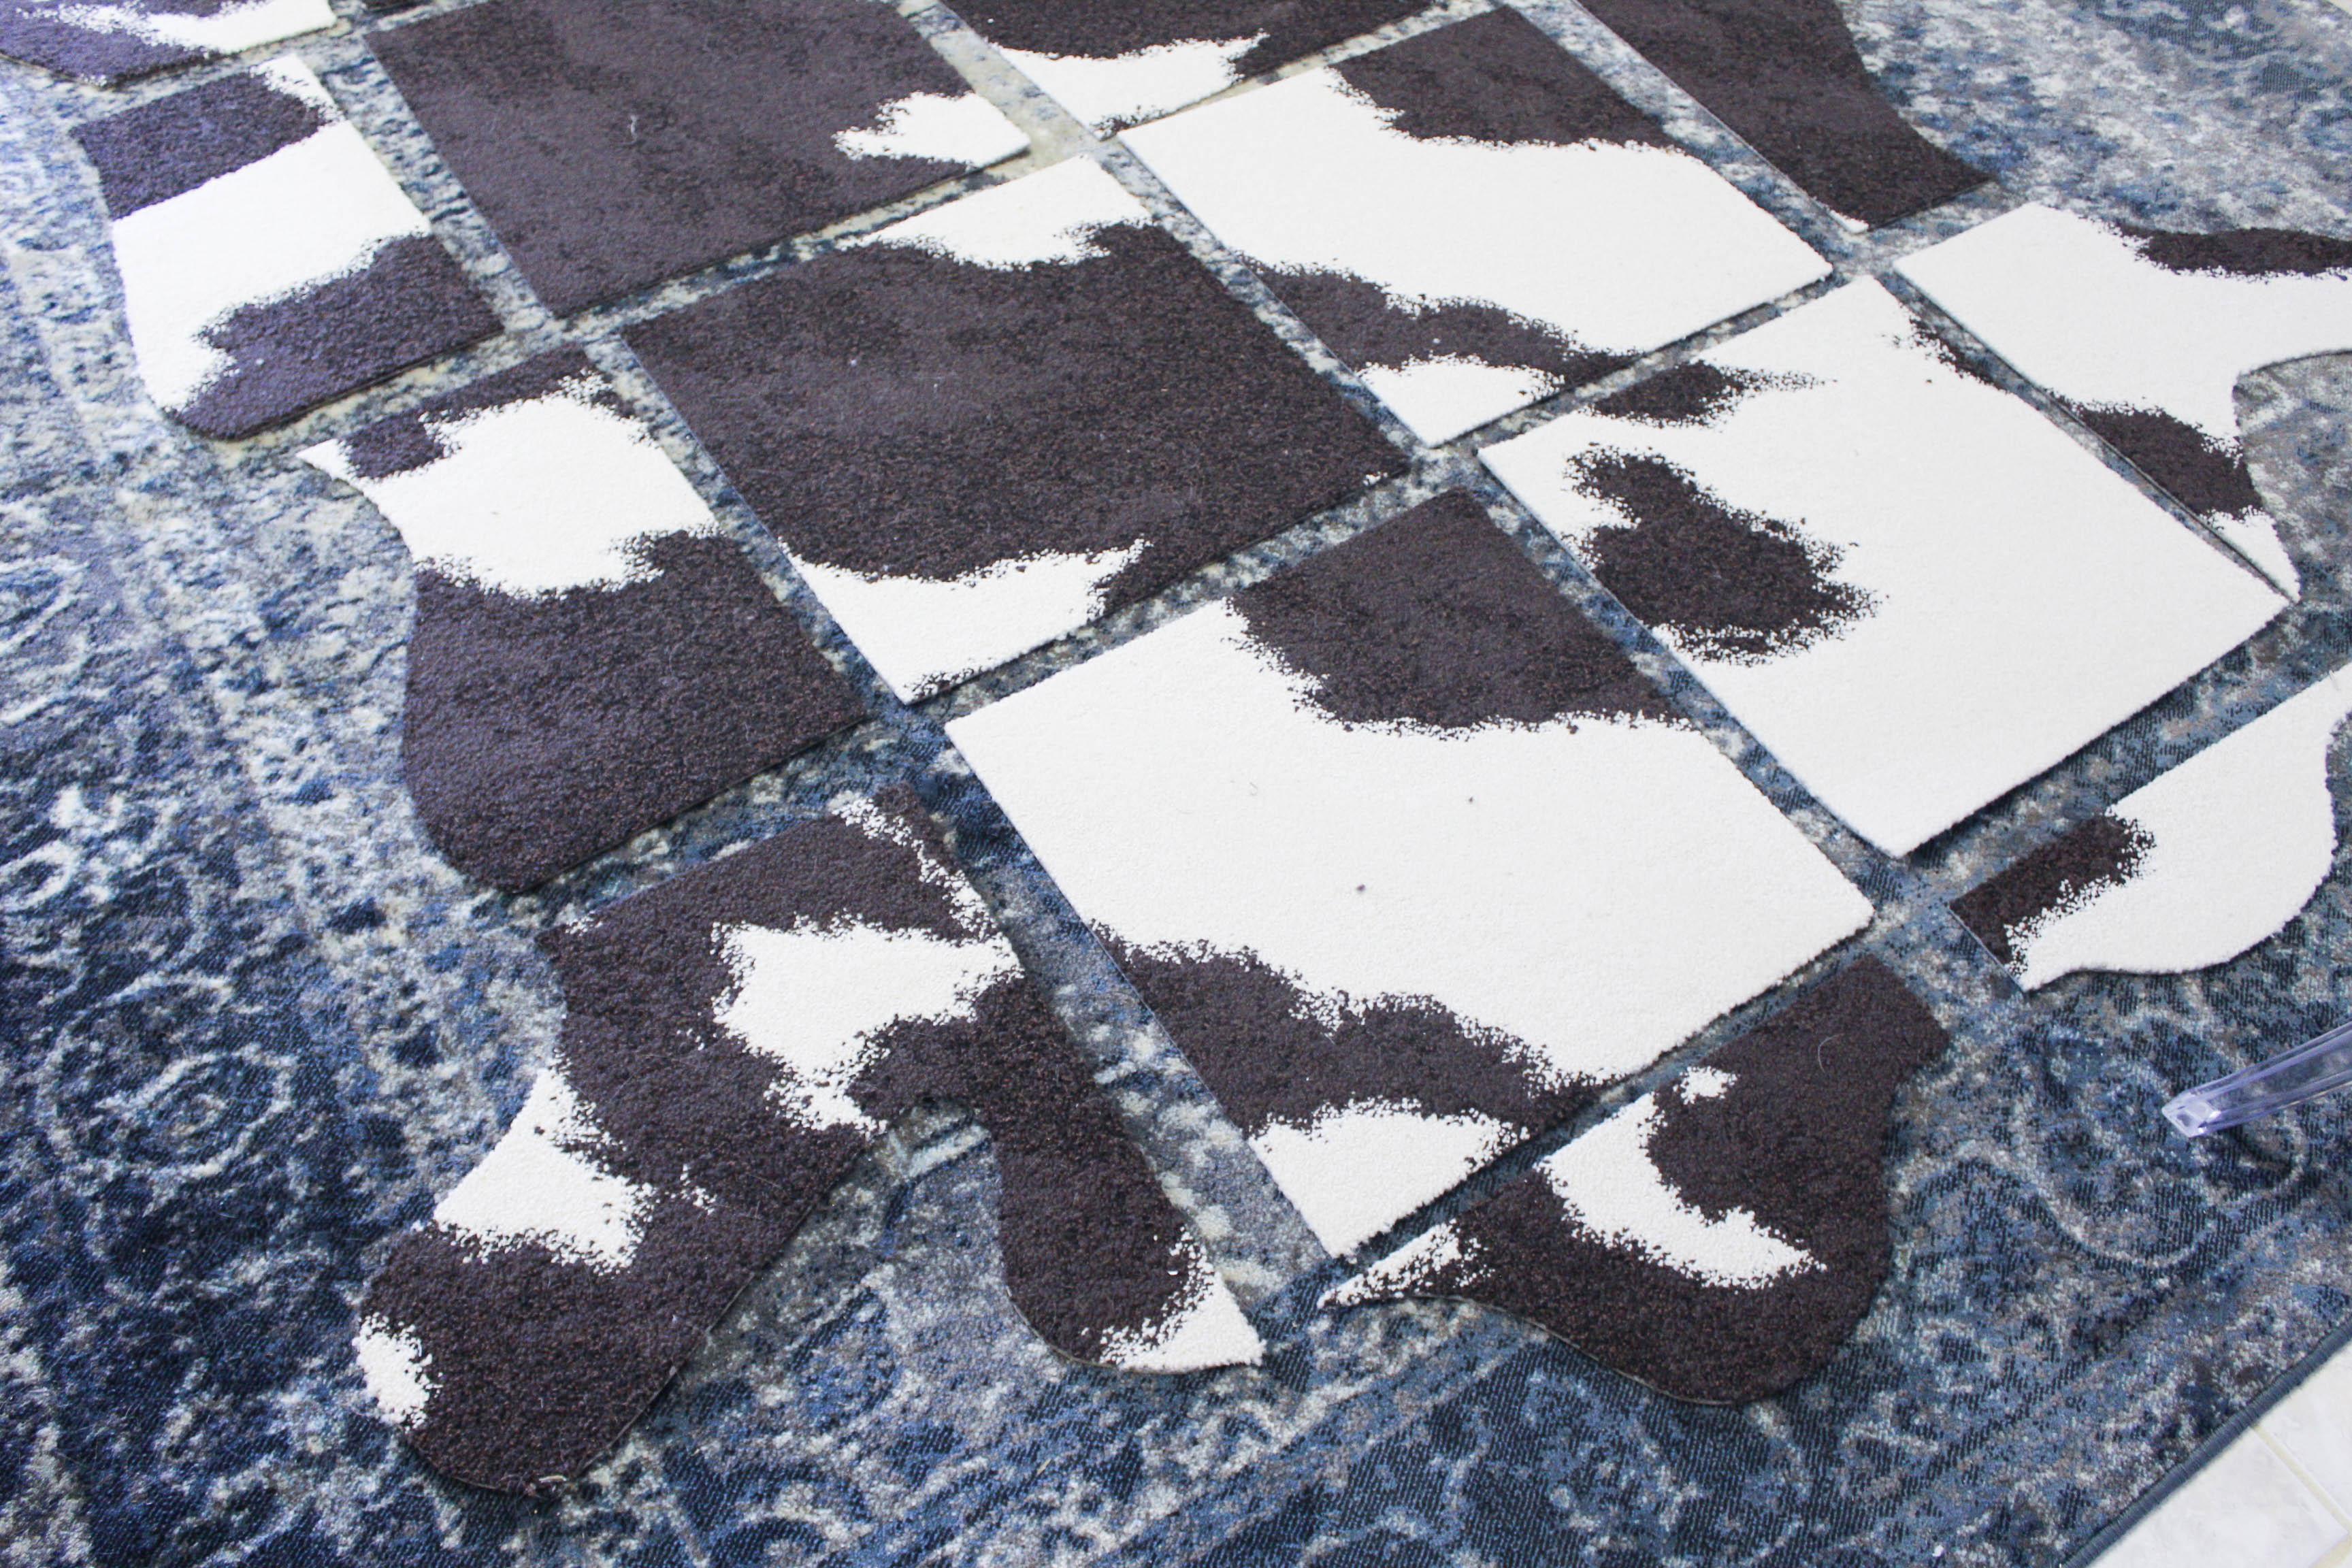
Then flipped them right over for a better look.
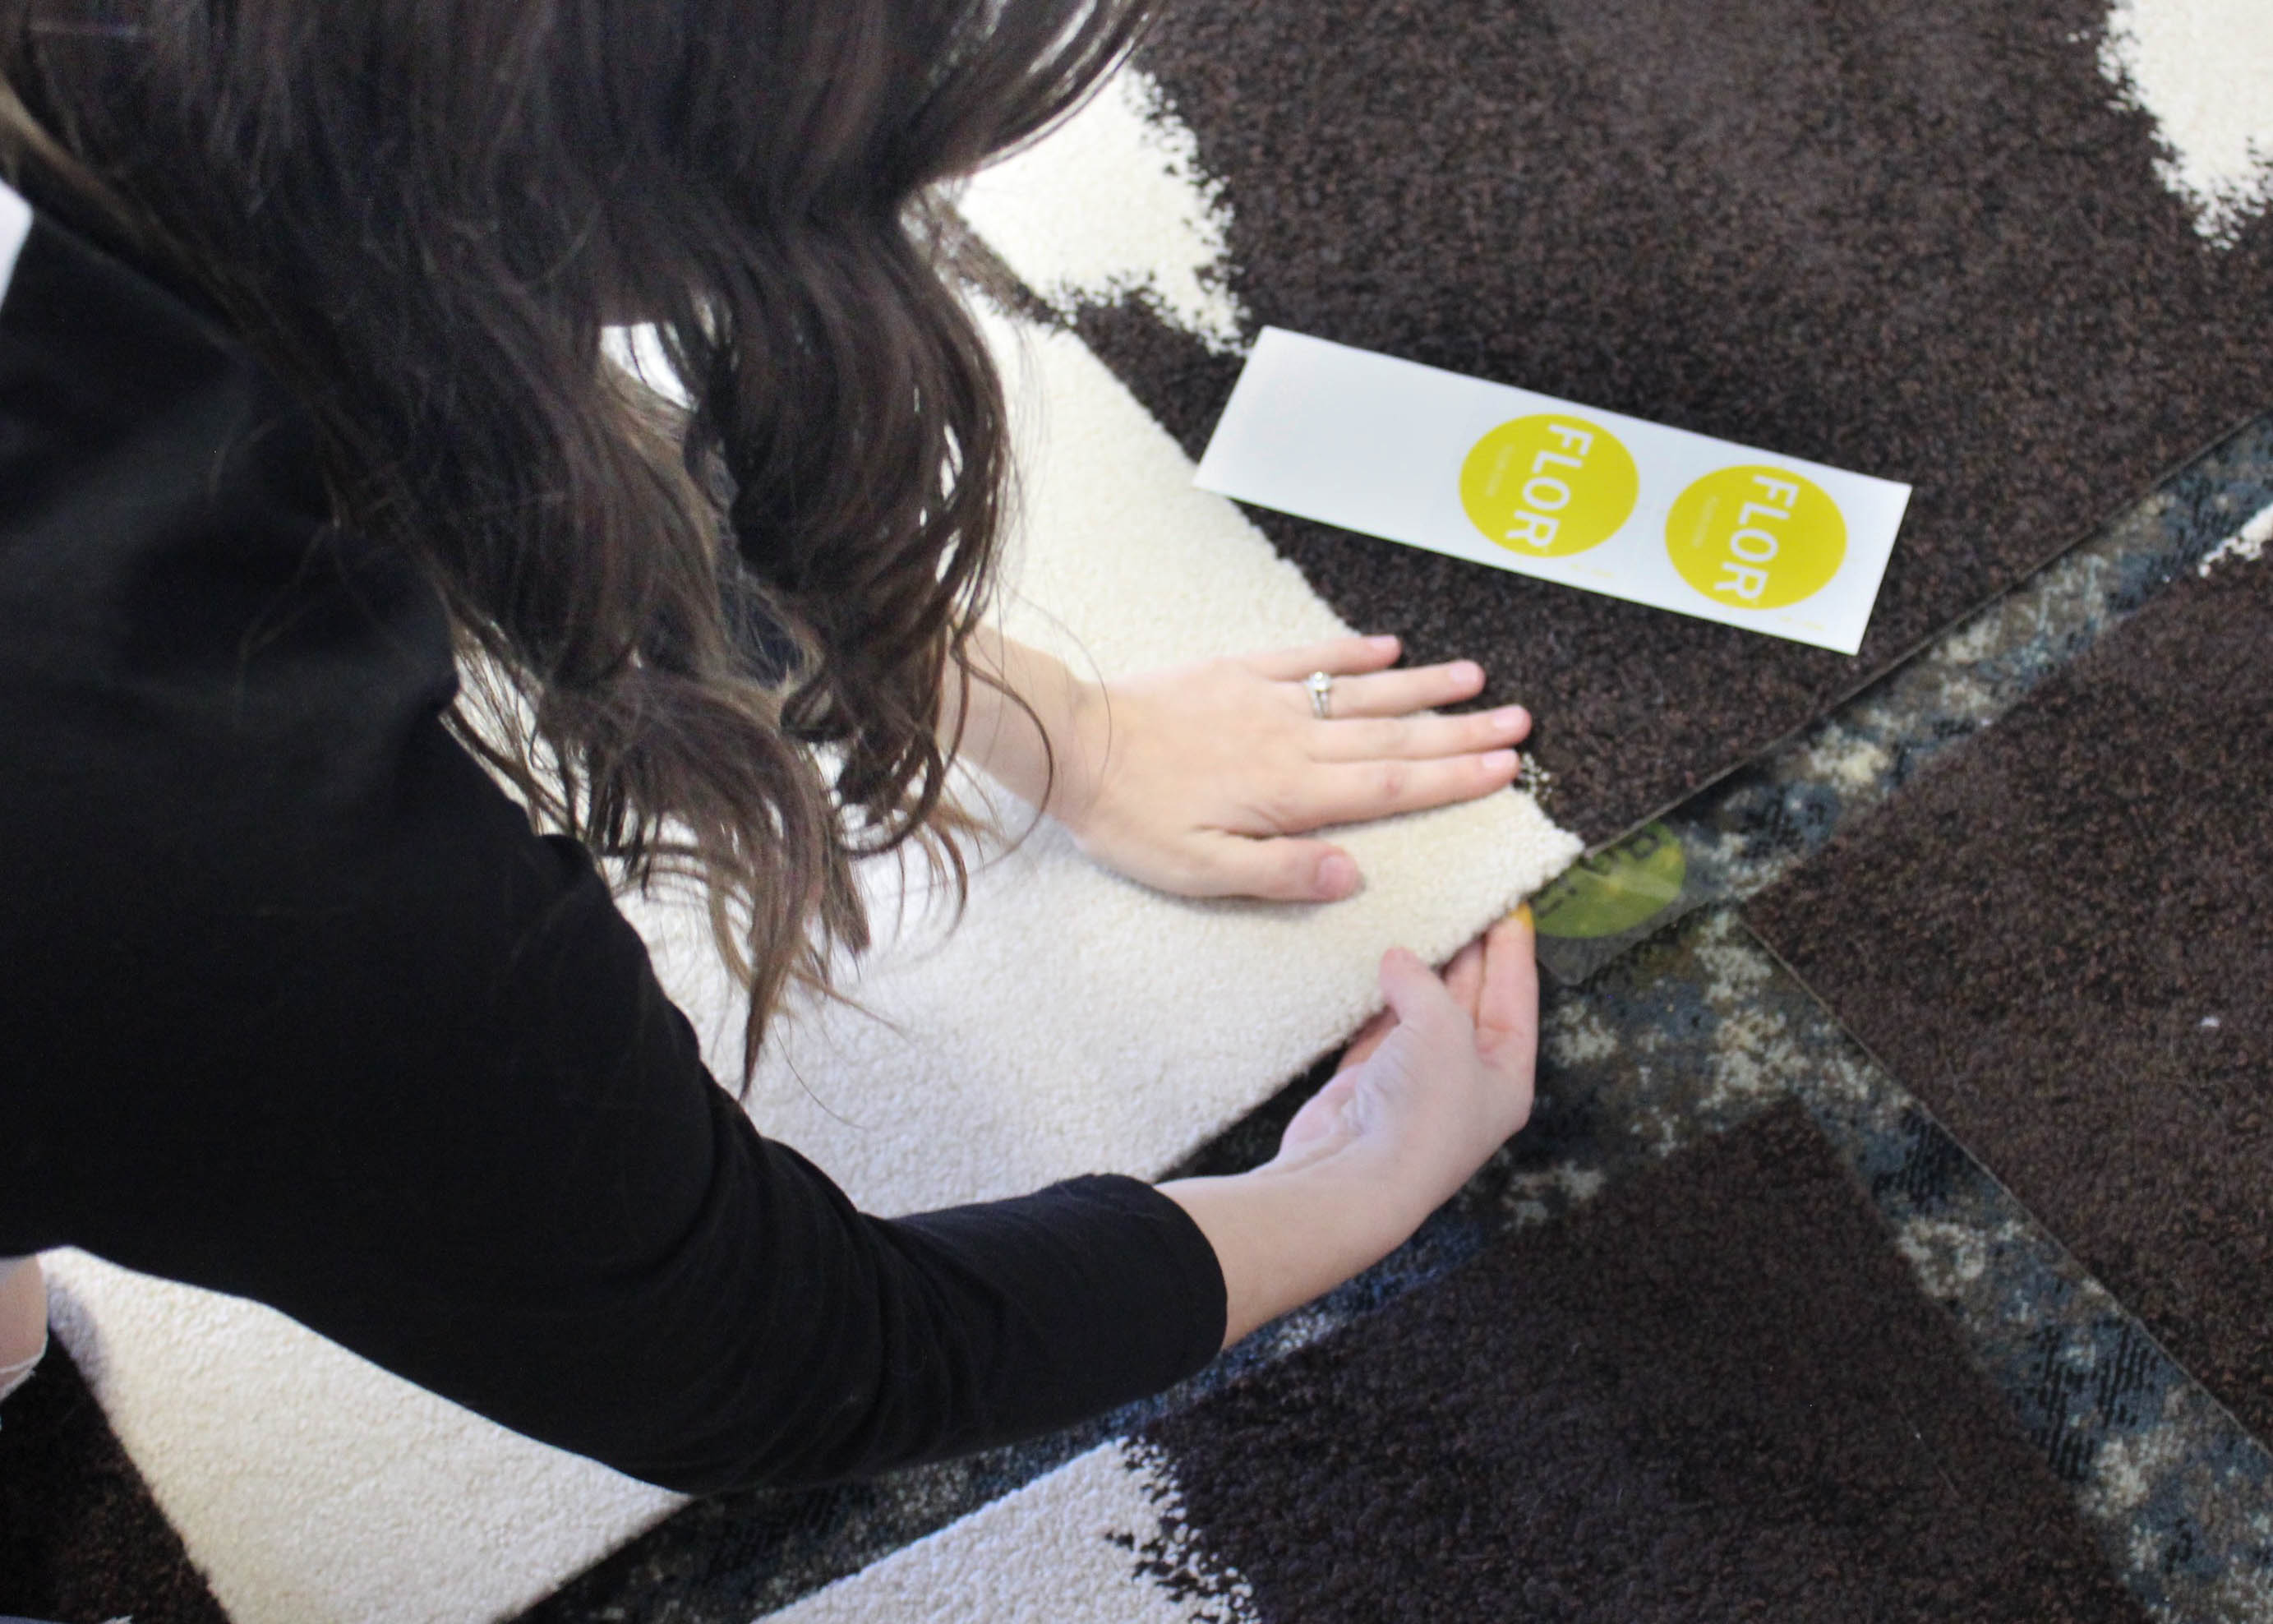
Heavy-duty stickers are used to connect each corner of the carpet together.
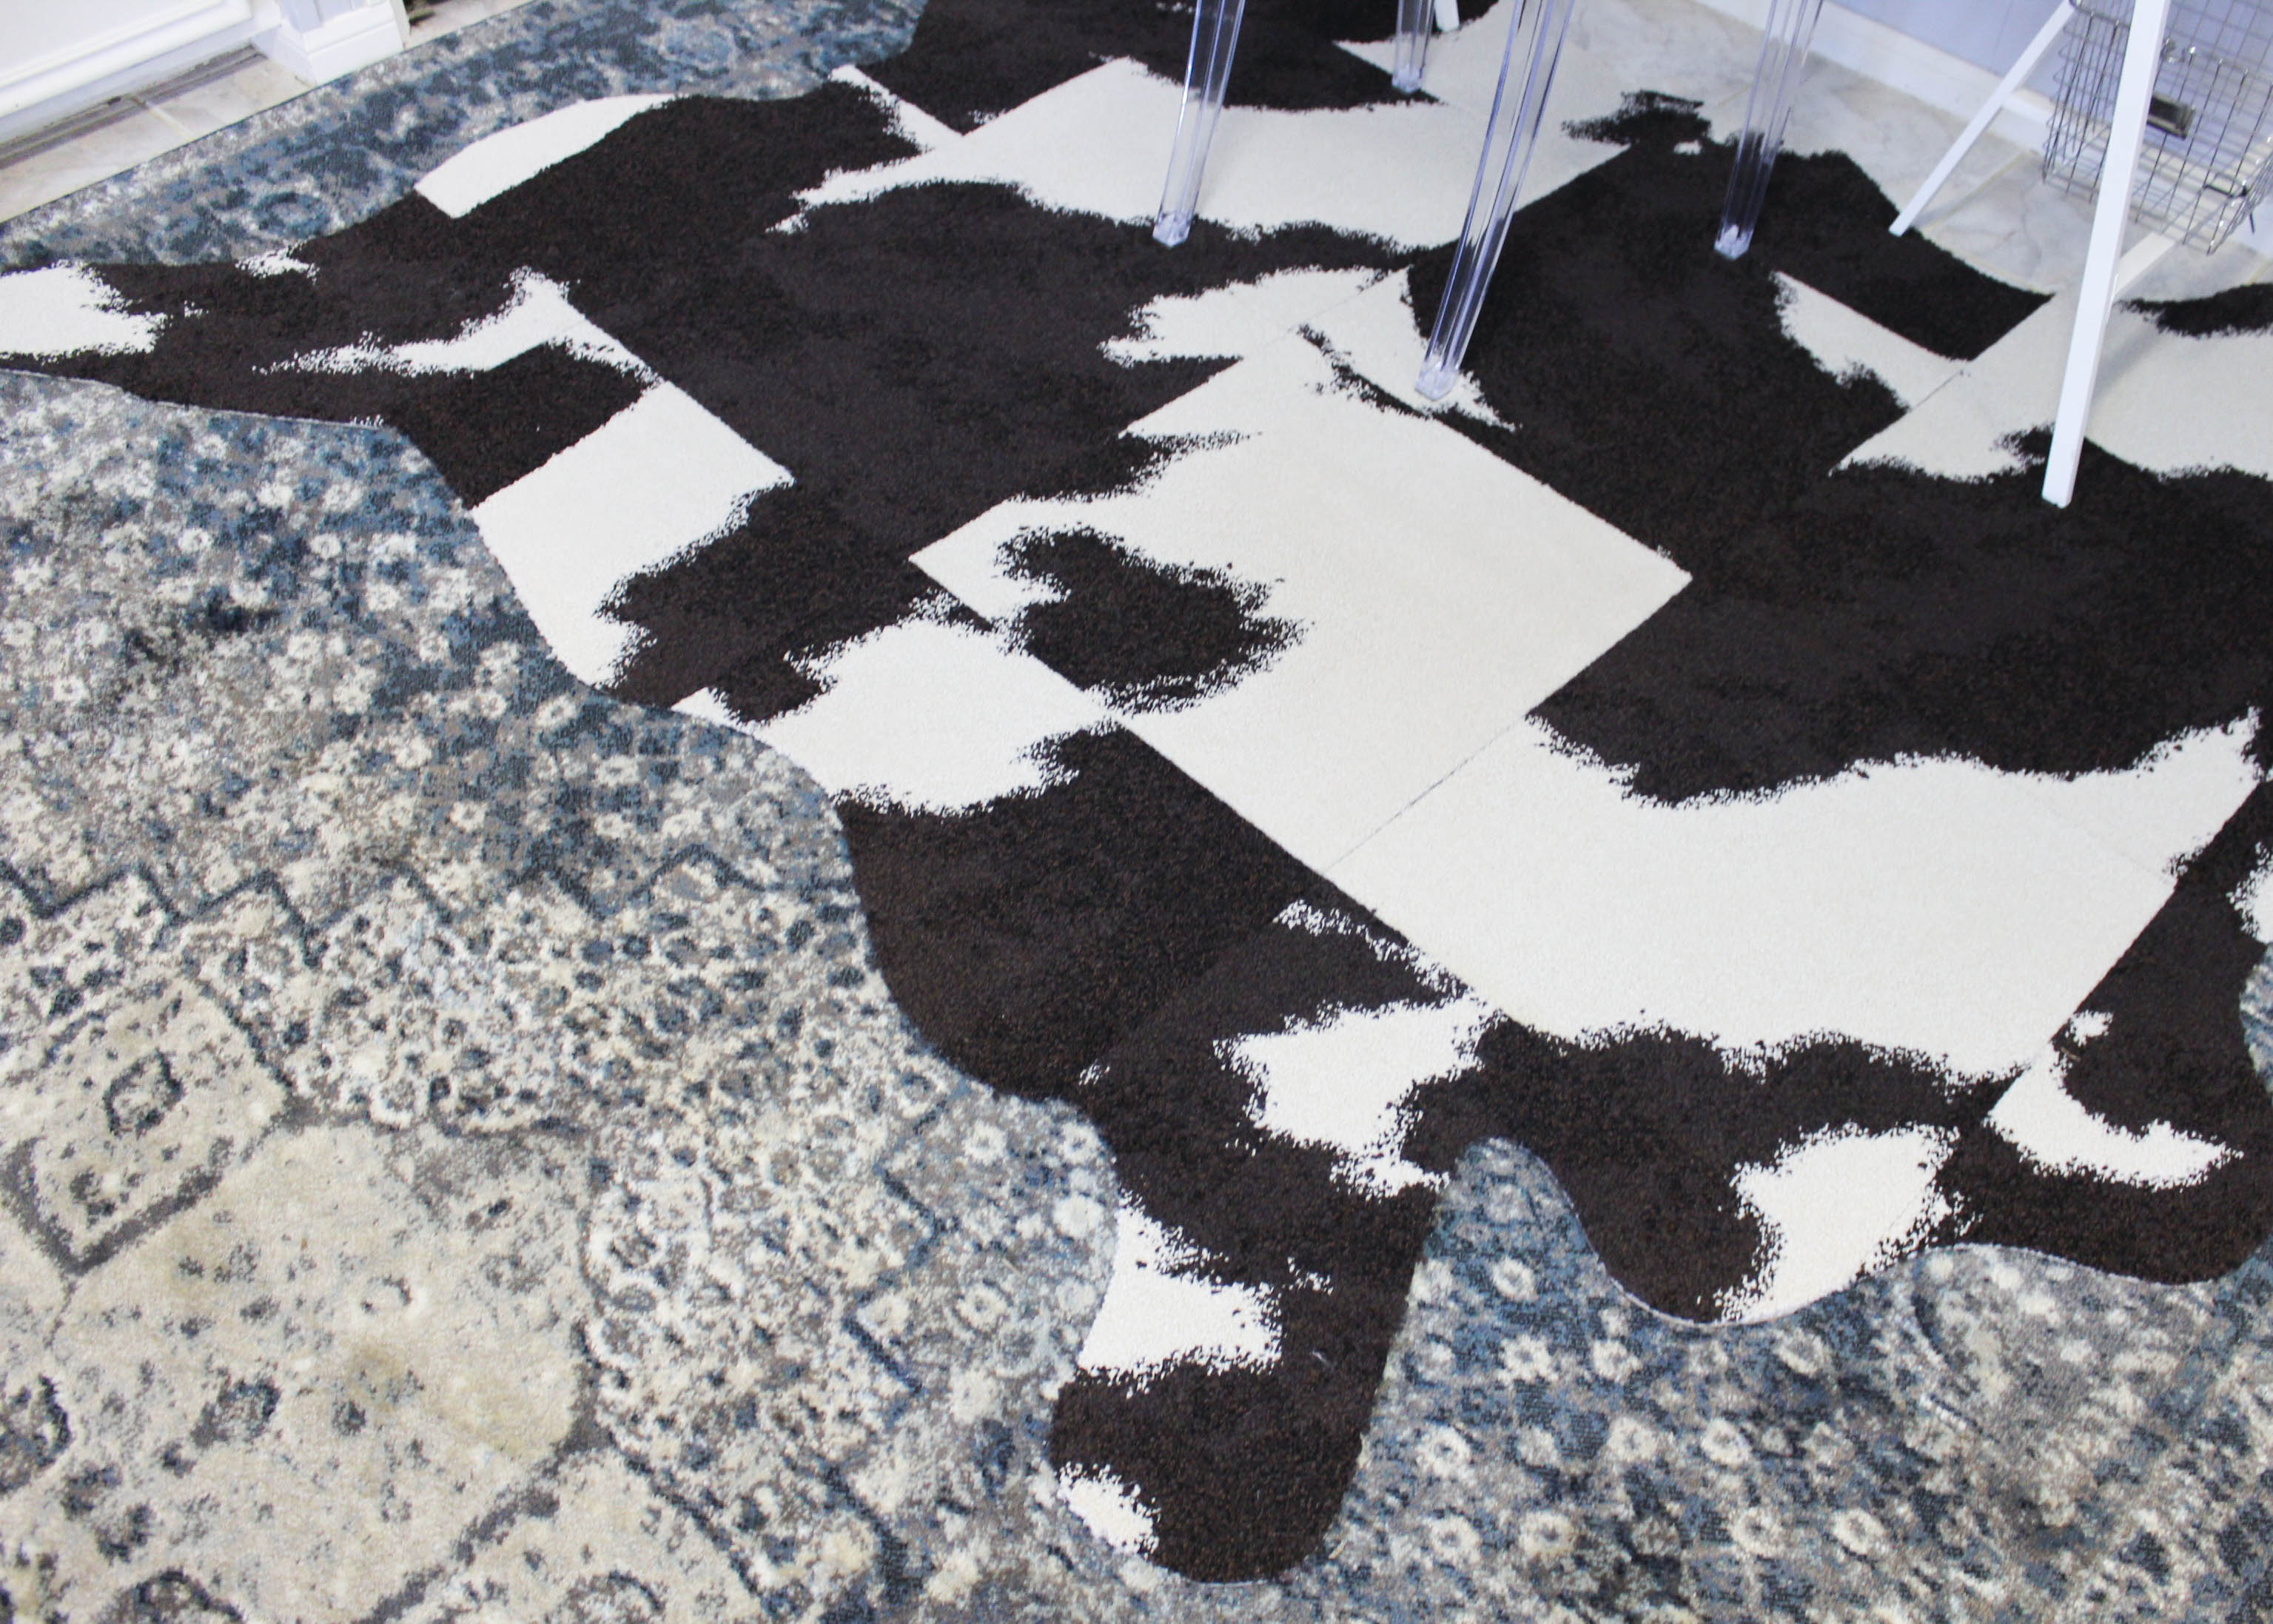
And after about an hour’s worth of DIY-ing, the rug was finished!
I love that it’s really different from a traditional cowhide rug. The mismatched squares give off a modern vibe, that makes for a fun juxtaposition against our vintage inspired blue area rug.
Desk Details:
FLOR rug c/o || desk || ghost chair c/o || lamp c/o || blue rug || gallery wall c/o || planner
Ta da! A home office nook, complete with a personalized gallery wall. When trying to decide what to hang above the computer, we searched the web and a few shops for different pieces of art that we liked. But to be honest, my favorite art is the art we make ourselves.
We chose three of our favorite photos: one from our honeymoon in Tuscany, one we snapped while biking the Golden Gate Bridge and one from a waterfall we visited in Big Sur. Framing these pretties was as easy as dragging the photos from my iPhoto app to Framebridge.com. Within minutes, the order was placed and the frames were on their way to me.
I’m sharing a special promo code with Lone Star Looking Glass readers to get 15% off their purchase at Framebridge with the code “LONESTAR15.” You can even frame your favorite instagram images with Framebridge, which makes for a great holiday gift!
So while this one little corner of our home seems to be put together, we have quite a long way to go for the rest of the house! I’ll be sharing more of my home decor updates, room by room, with you all until it’s complete!
As always, thanks for stopping by the blog!
—