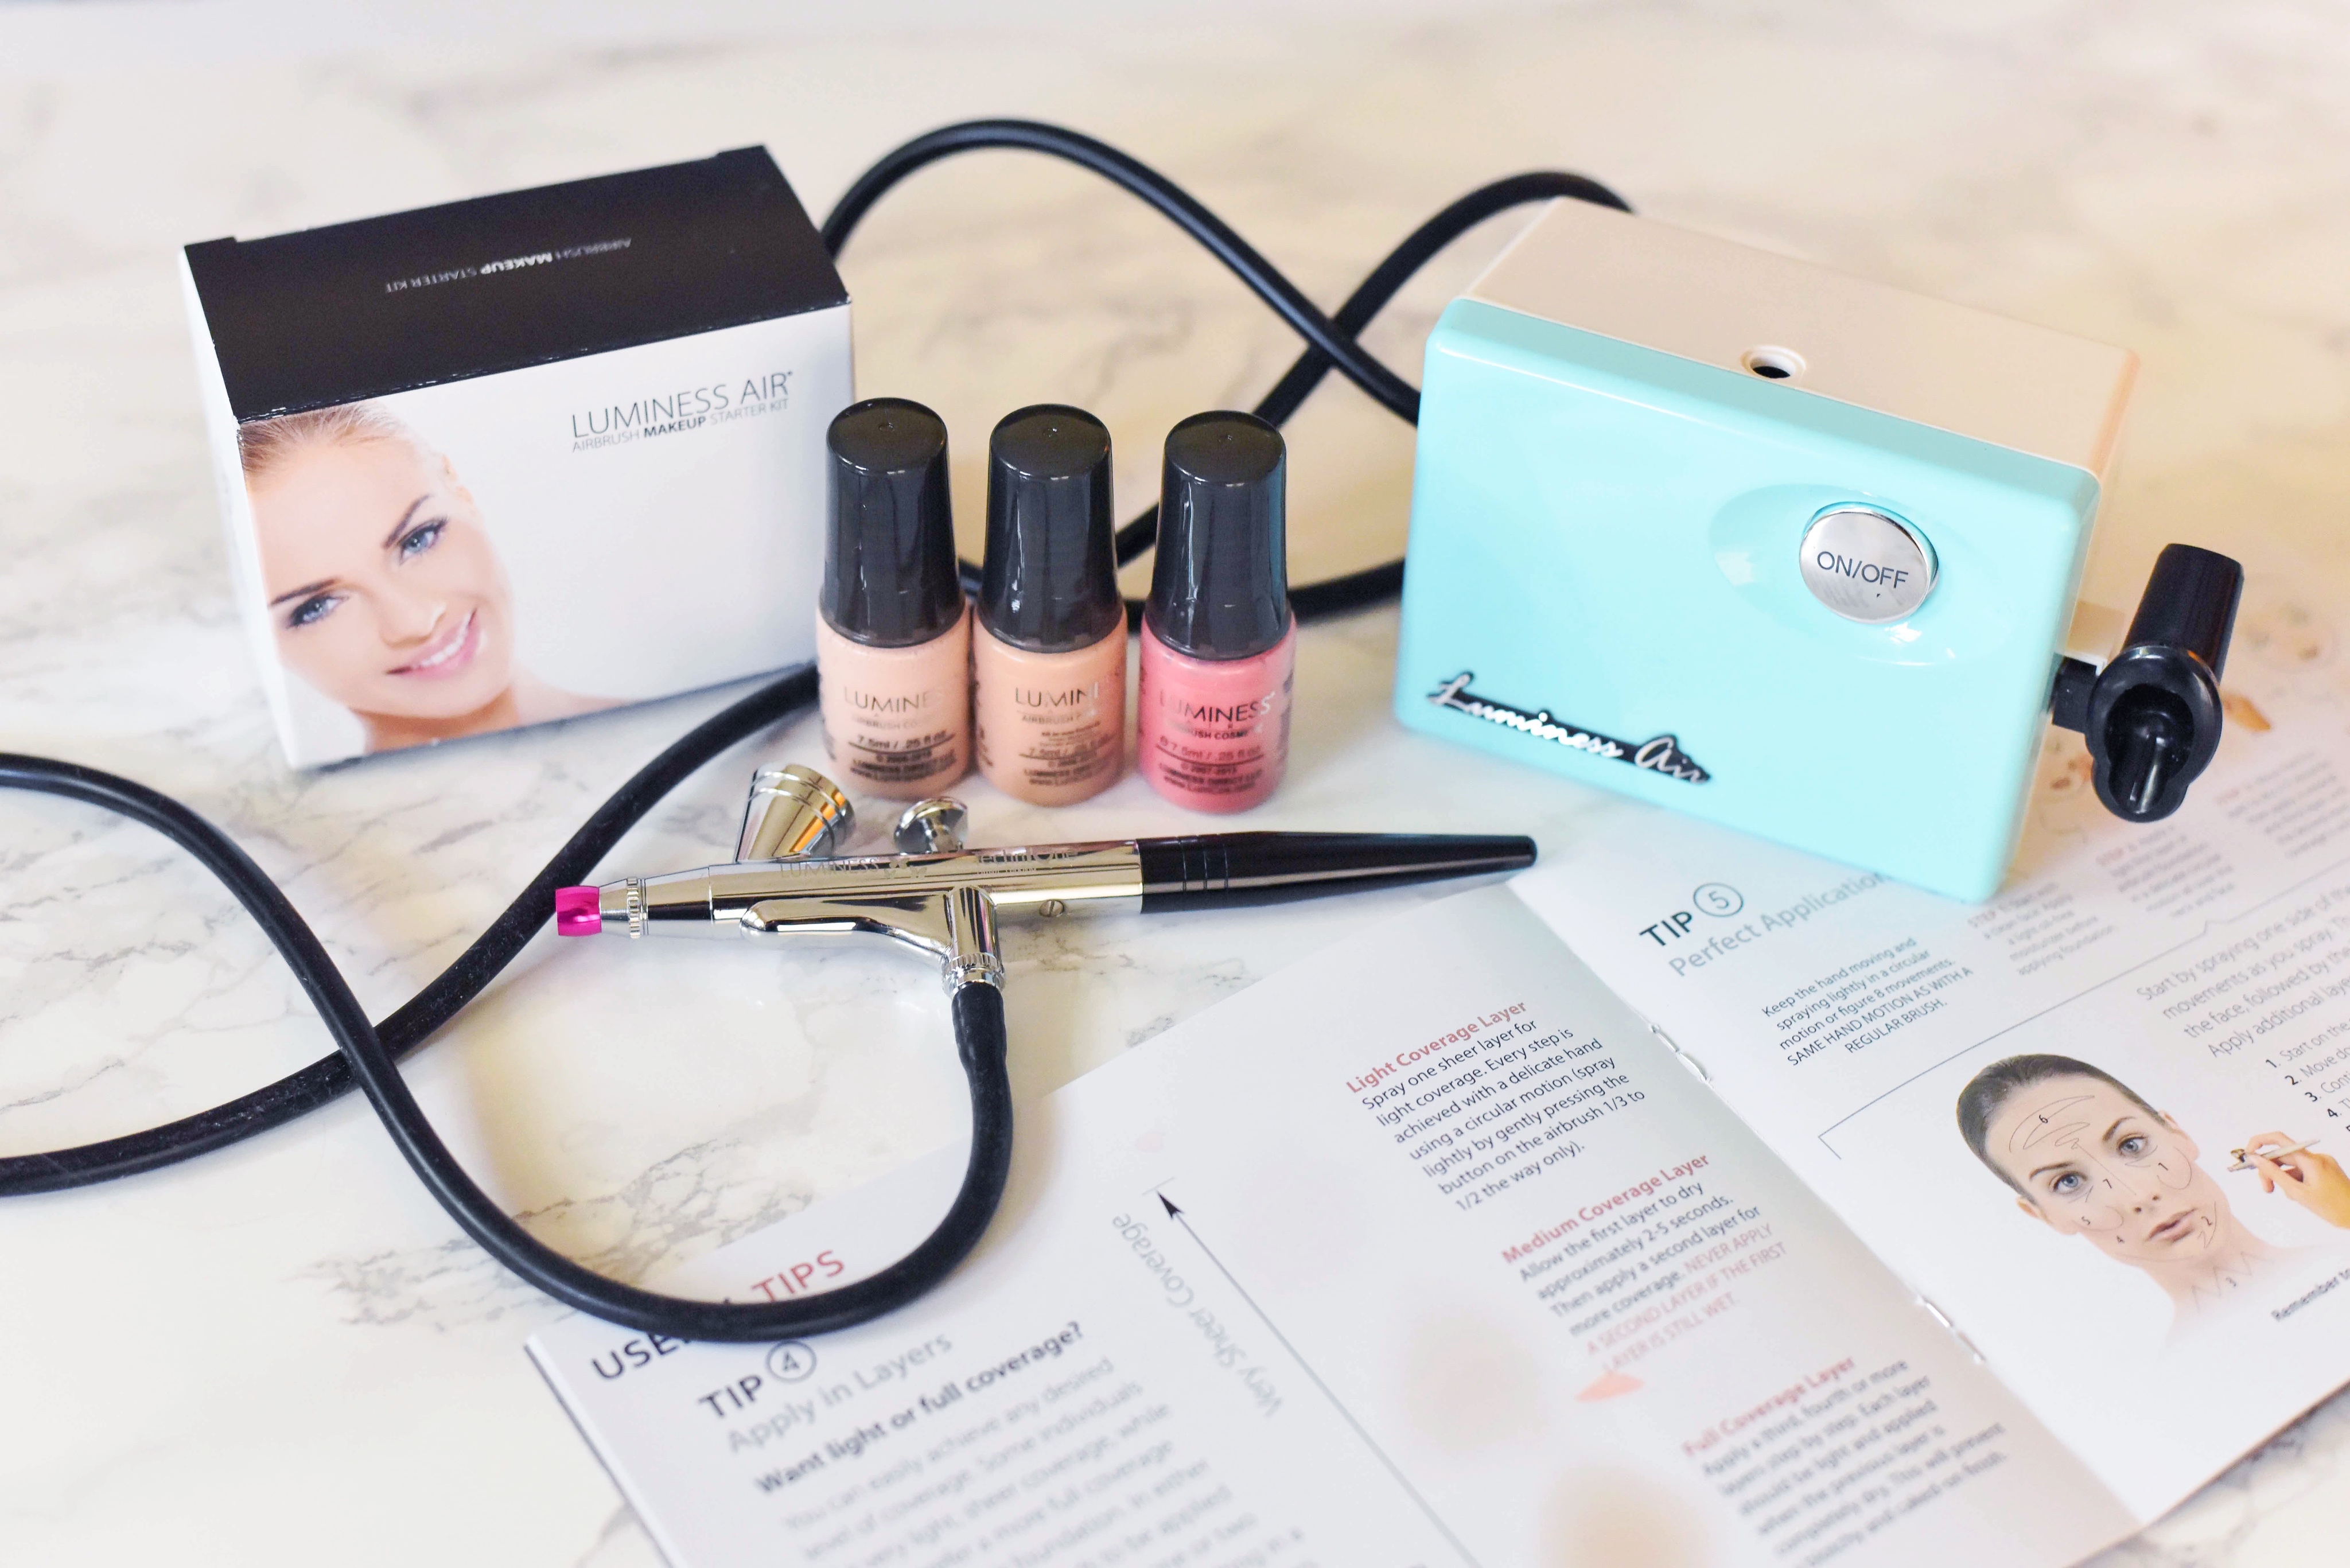
I’m the first to admit that I’m no beauty guru. Sure, I adore makeup, but half the time I still don’t know what I’m doing when I’m applying it. (I try, I try!) When I was approached with the opportunity to try out Luminess Air Airbrush System for you all, I couldn’t resist the challenge!
So today I’m sharing how EASY it is to give yourself an airbrush makeover at home, whether you’re a makeup novice or not.
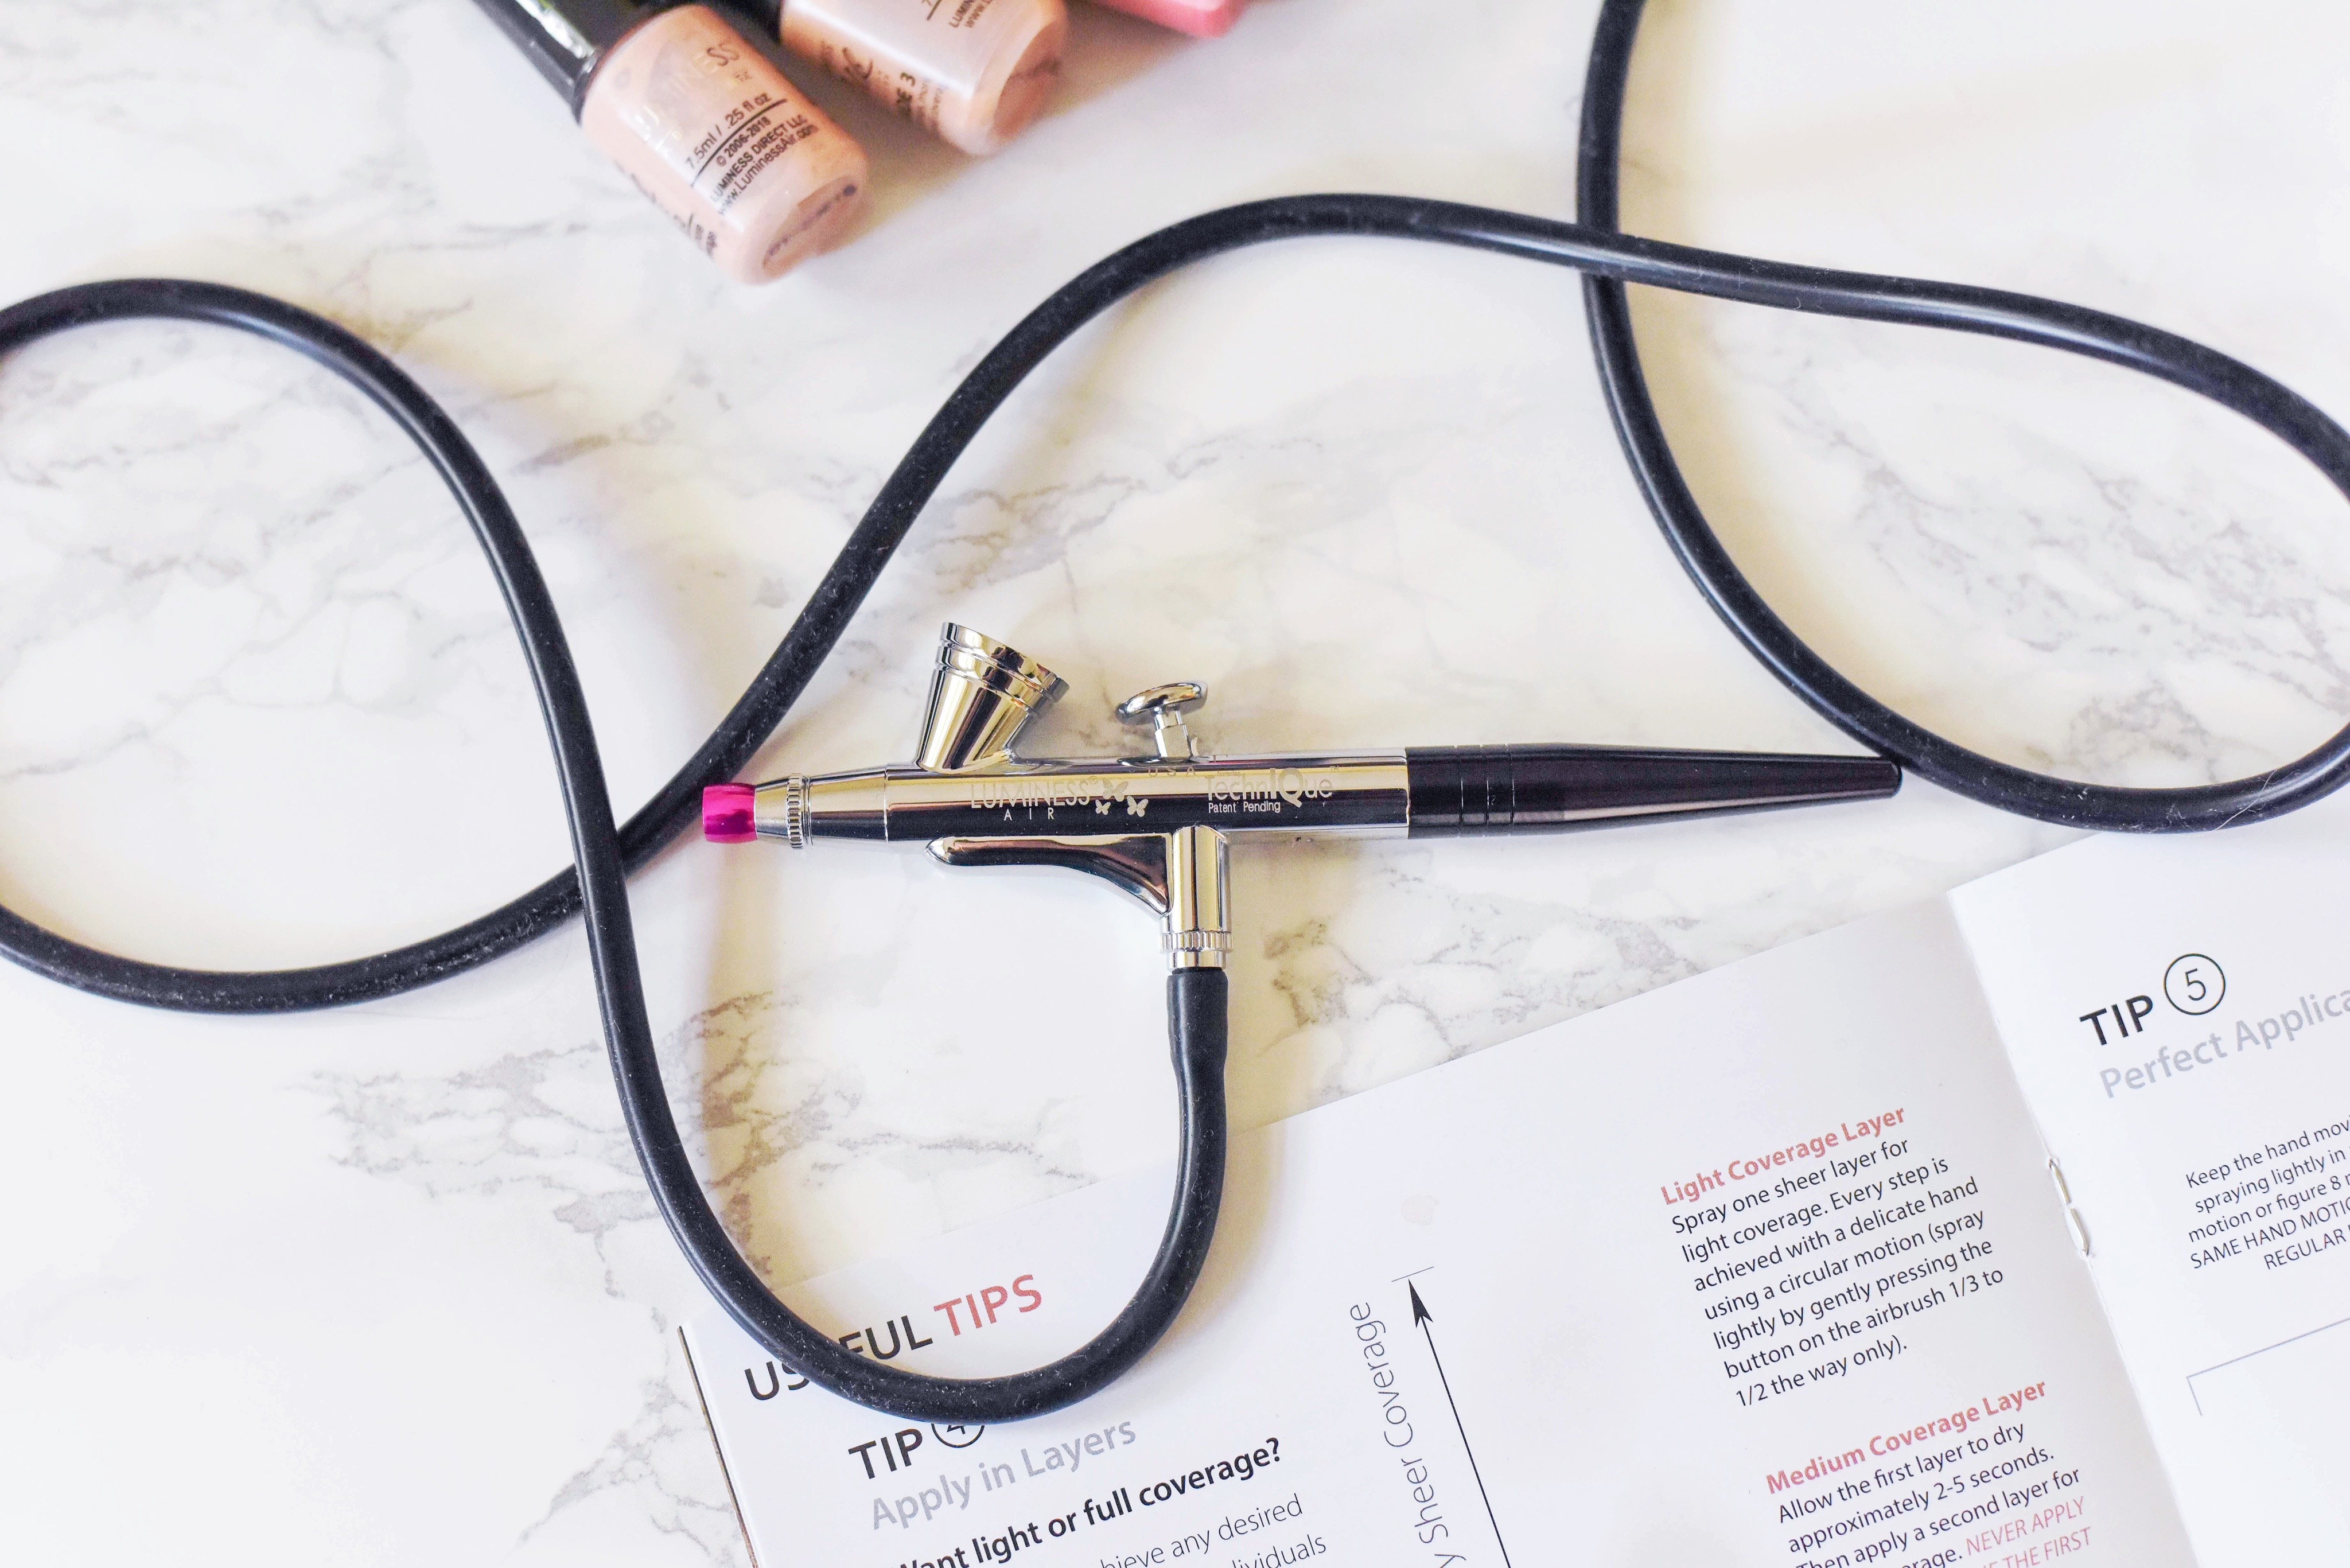
Having only had my face professionally airbrushed twice before, for extra-special events, I knew how fabulous a fresh-faced airbrush look could be. So being able to achieve this same look at home with the Luminess Air Airbrush System was a no brainer!
Luminess Air Airbrush System Review
Luminess Air’s kit comes in a compact size with many different choices of shades and finishes to choose from. I chose the fair shades in a silky lightweight finish, for that barely there “effortless look.”
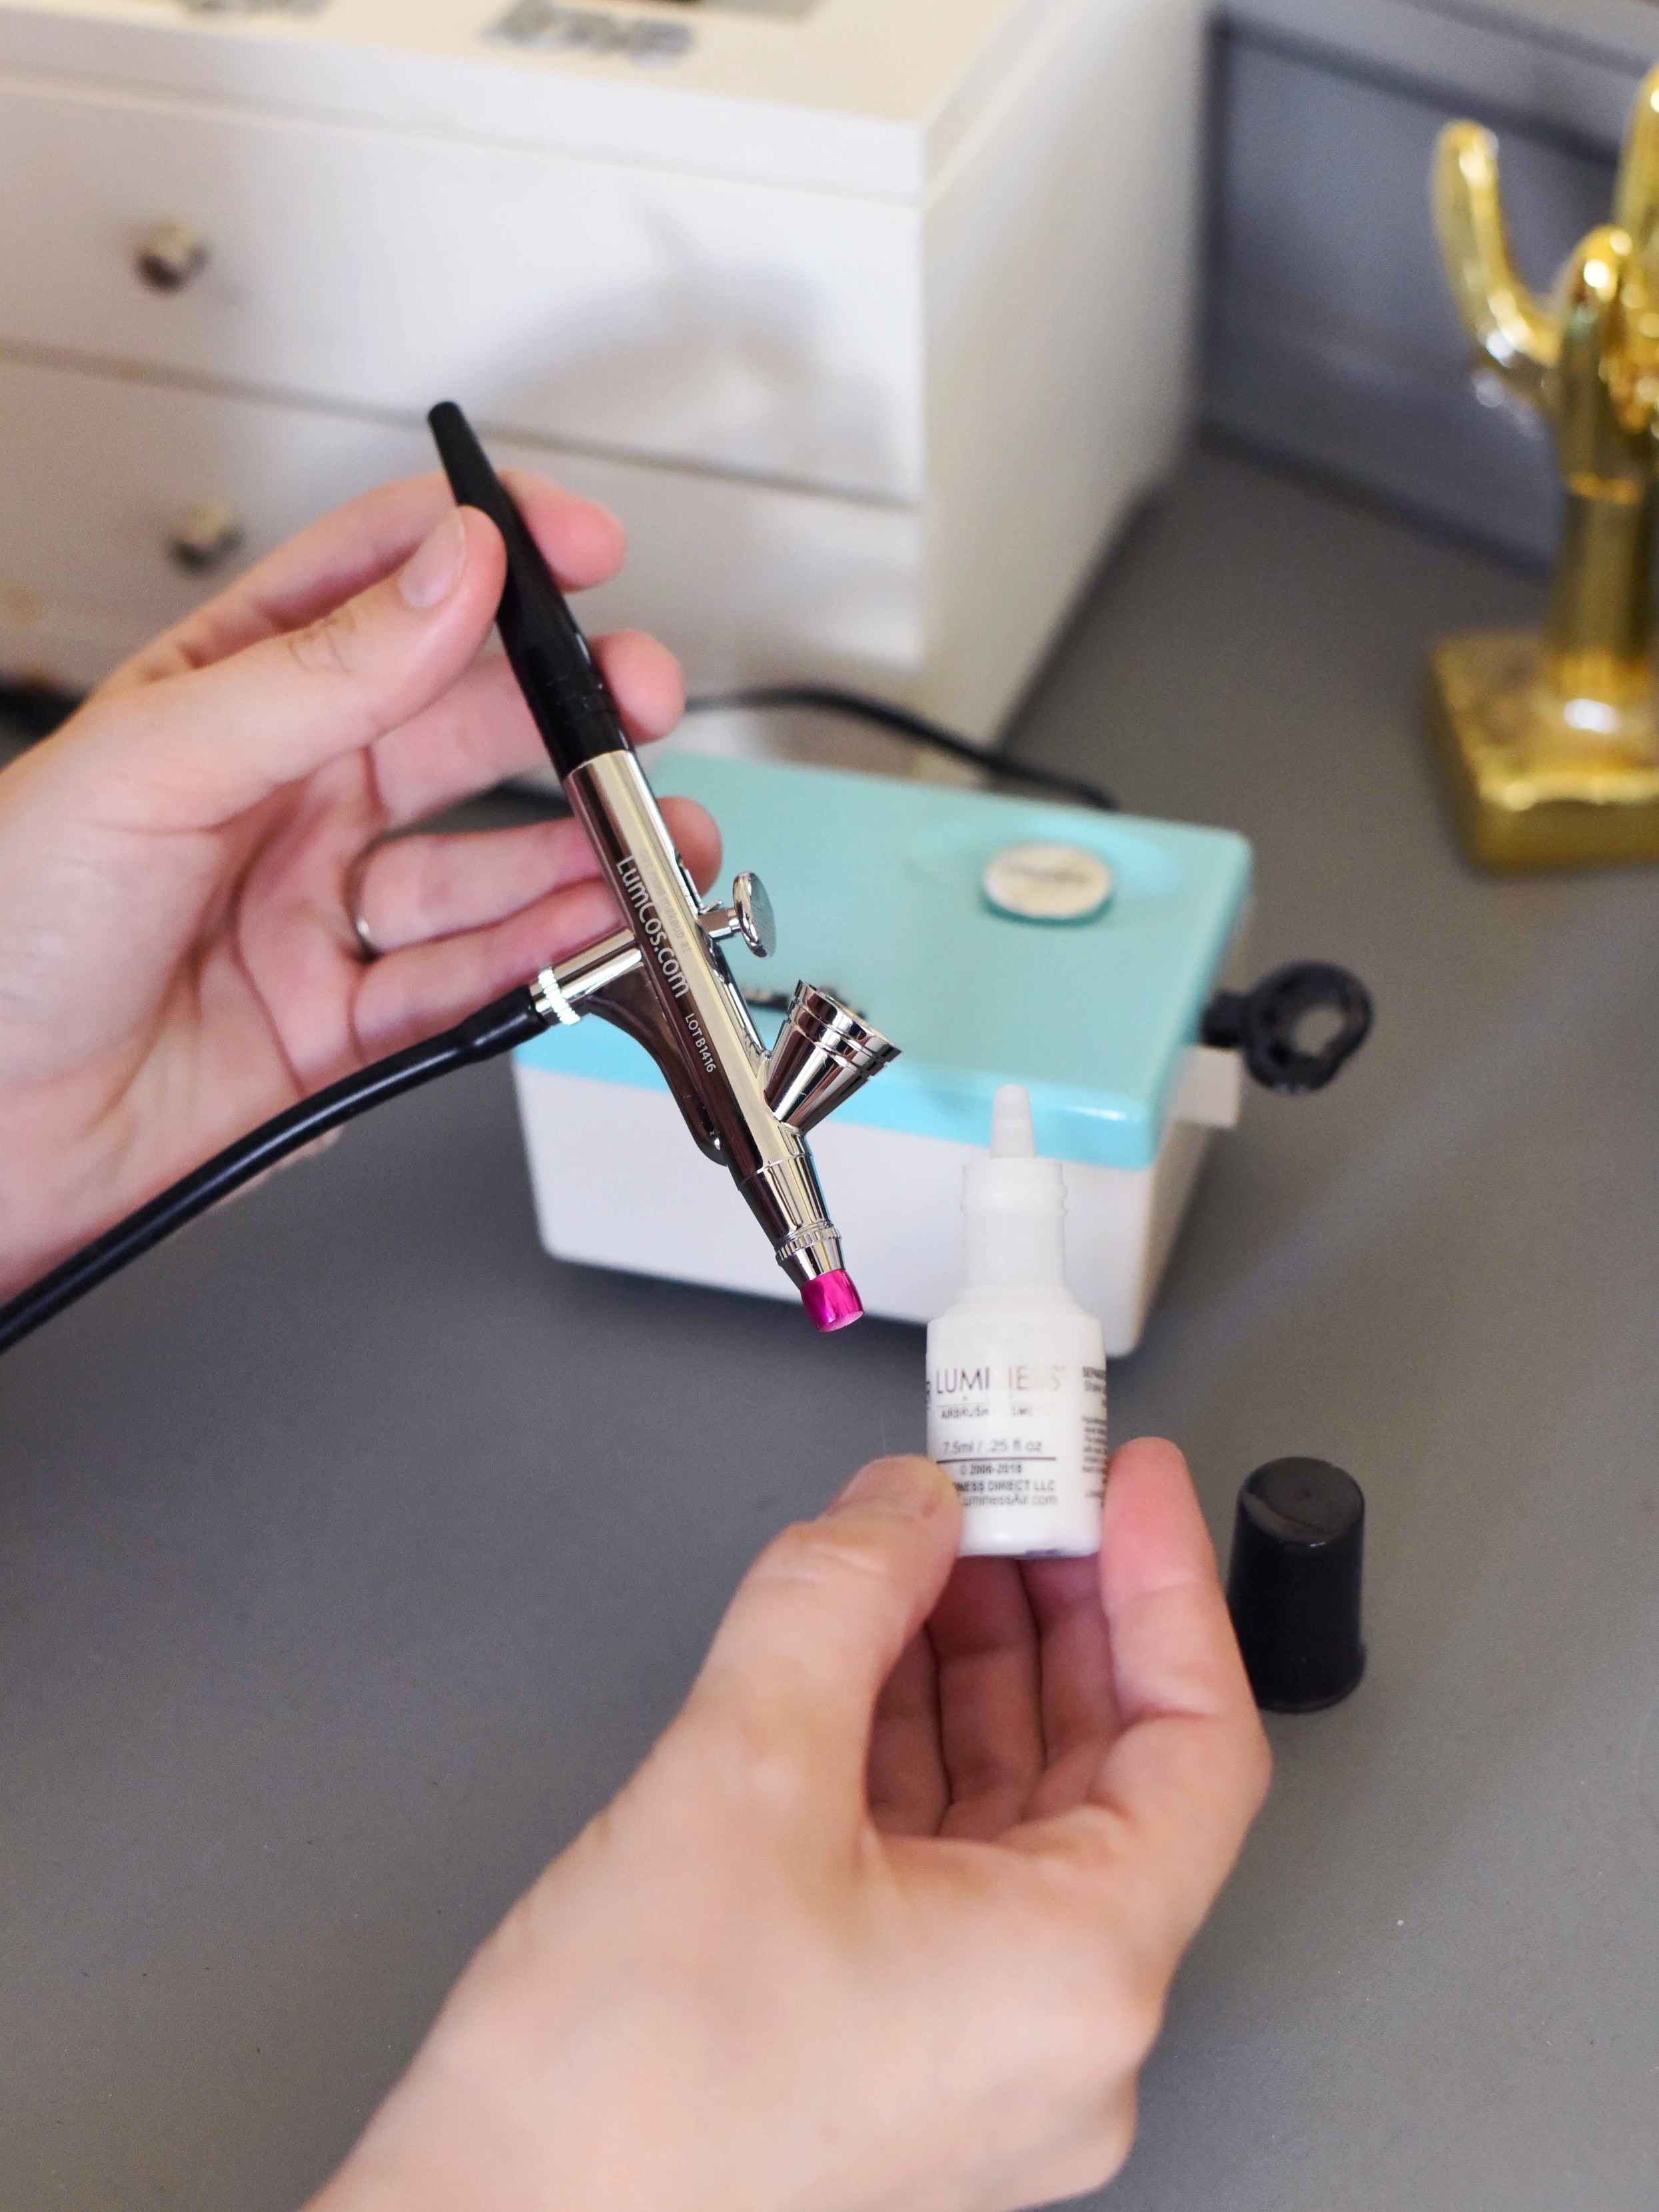
Luminess Air Airbrush System Step 1: Prime Time
Start with a clean face. Then add just a few drops of Luminess’ Moisturizer/Primer.
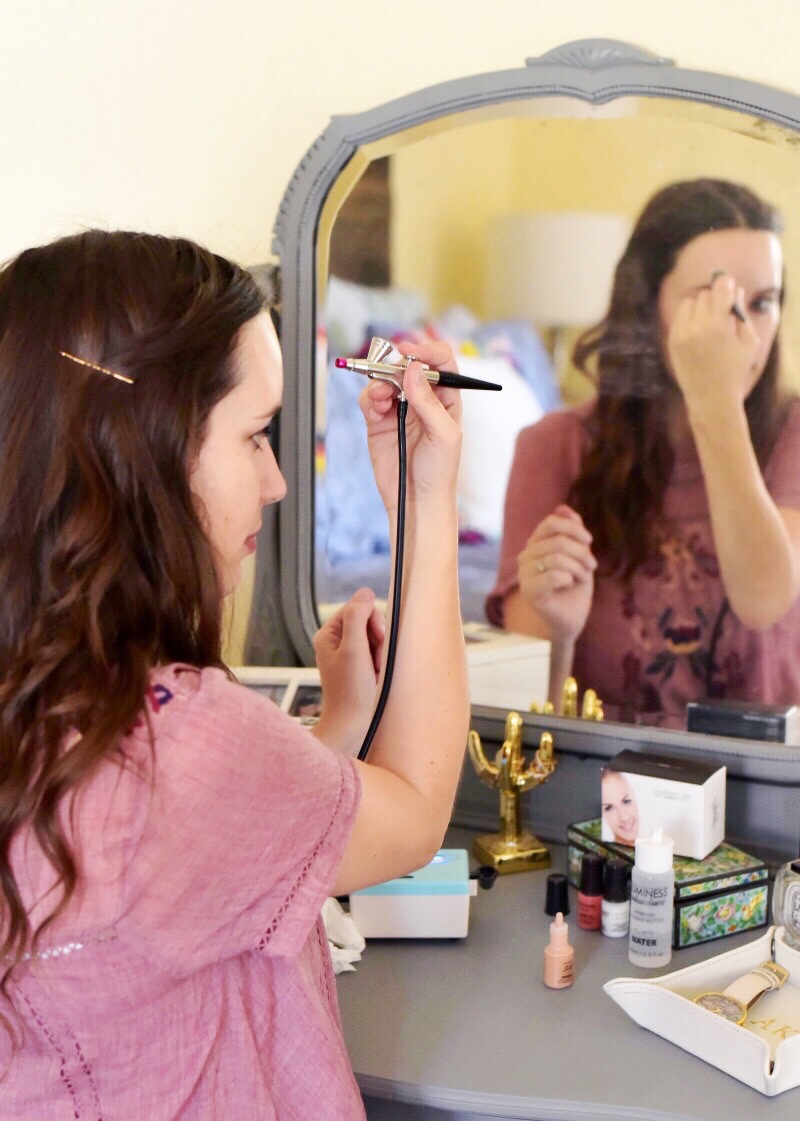
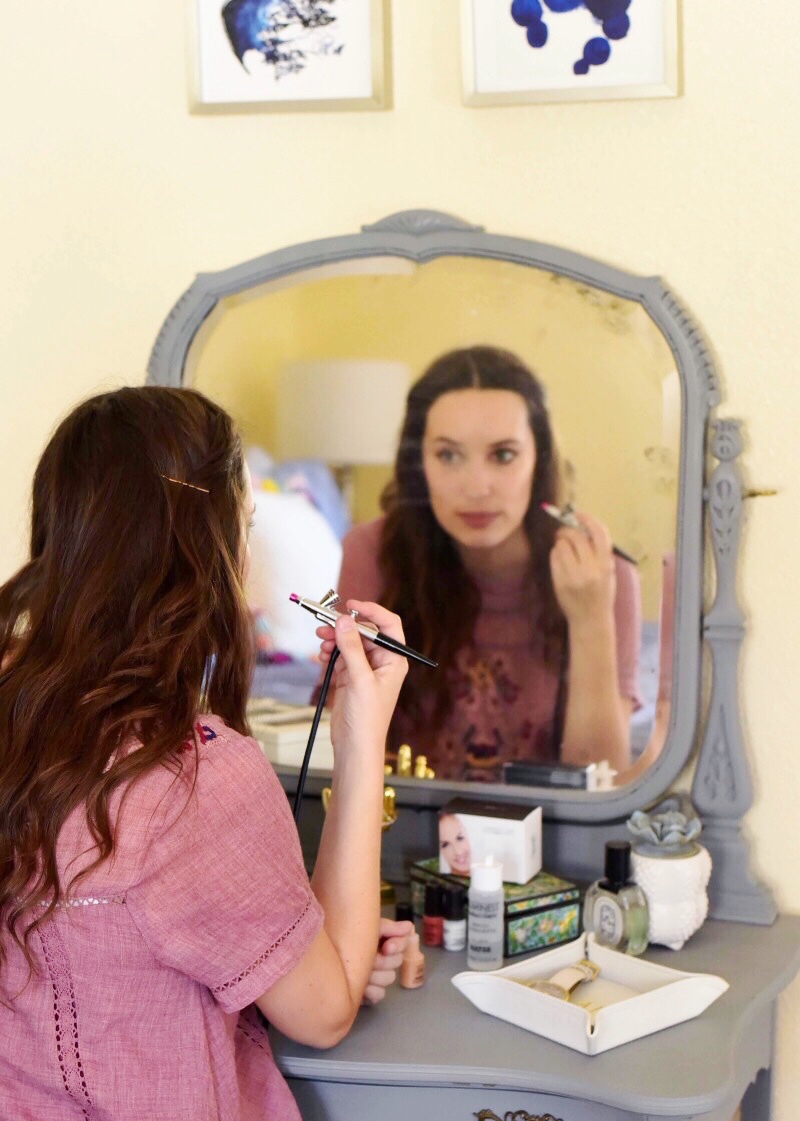
Pull the trigger of your Luminess Air Airbrush System back just a little bit, and hold your hand out 6″-8″ from your face.
Luminess Air Airbrush System Step 2: Clean your Luminess Air Airbrush System Up
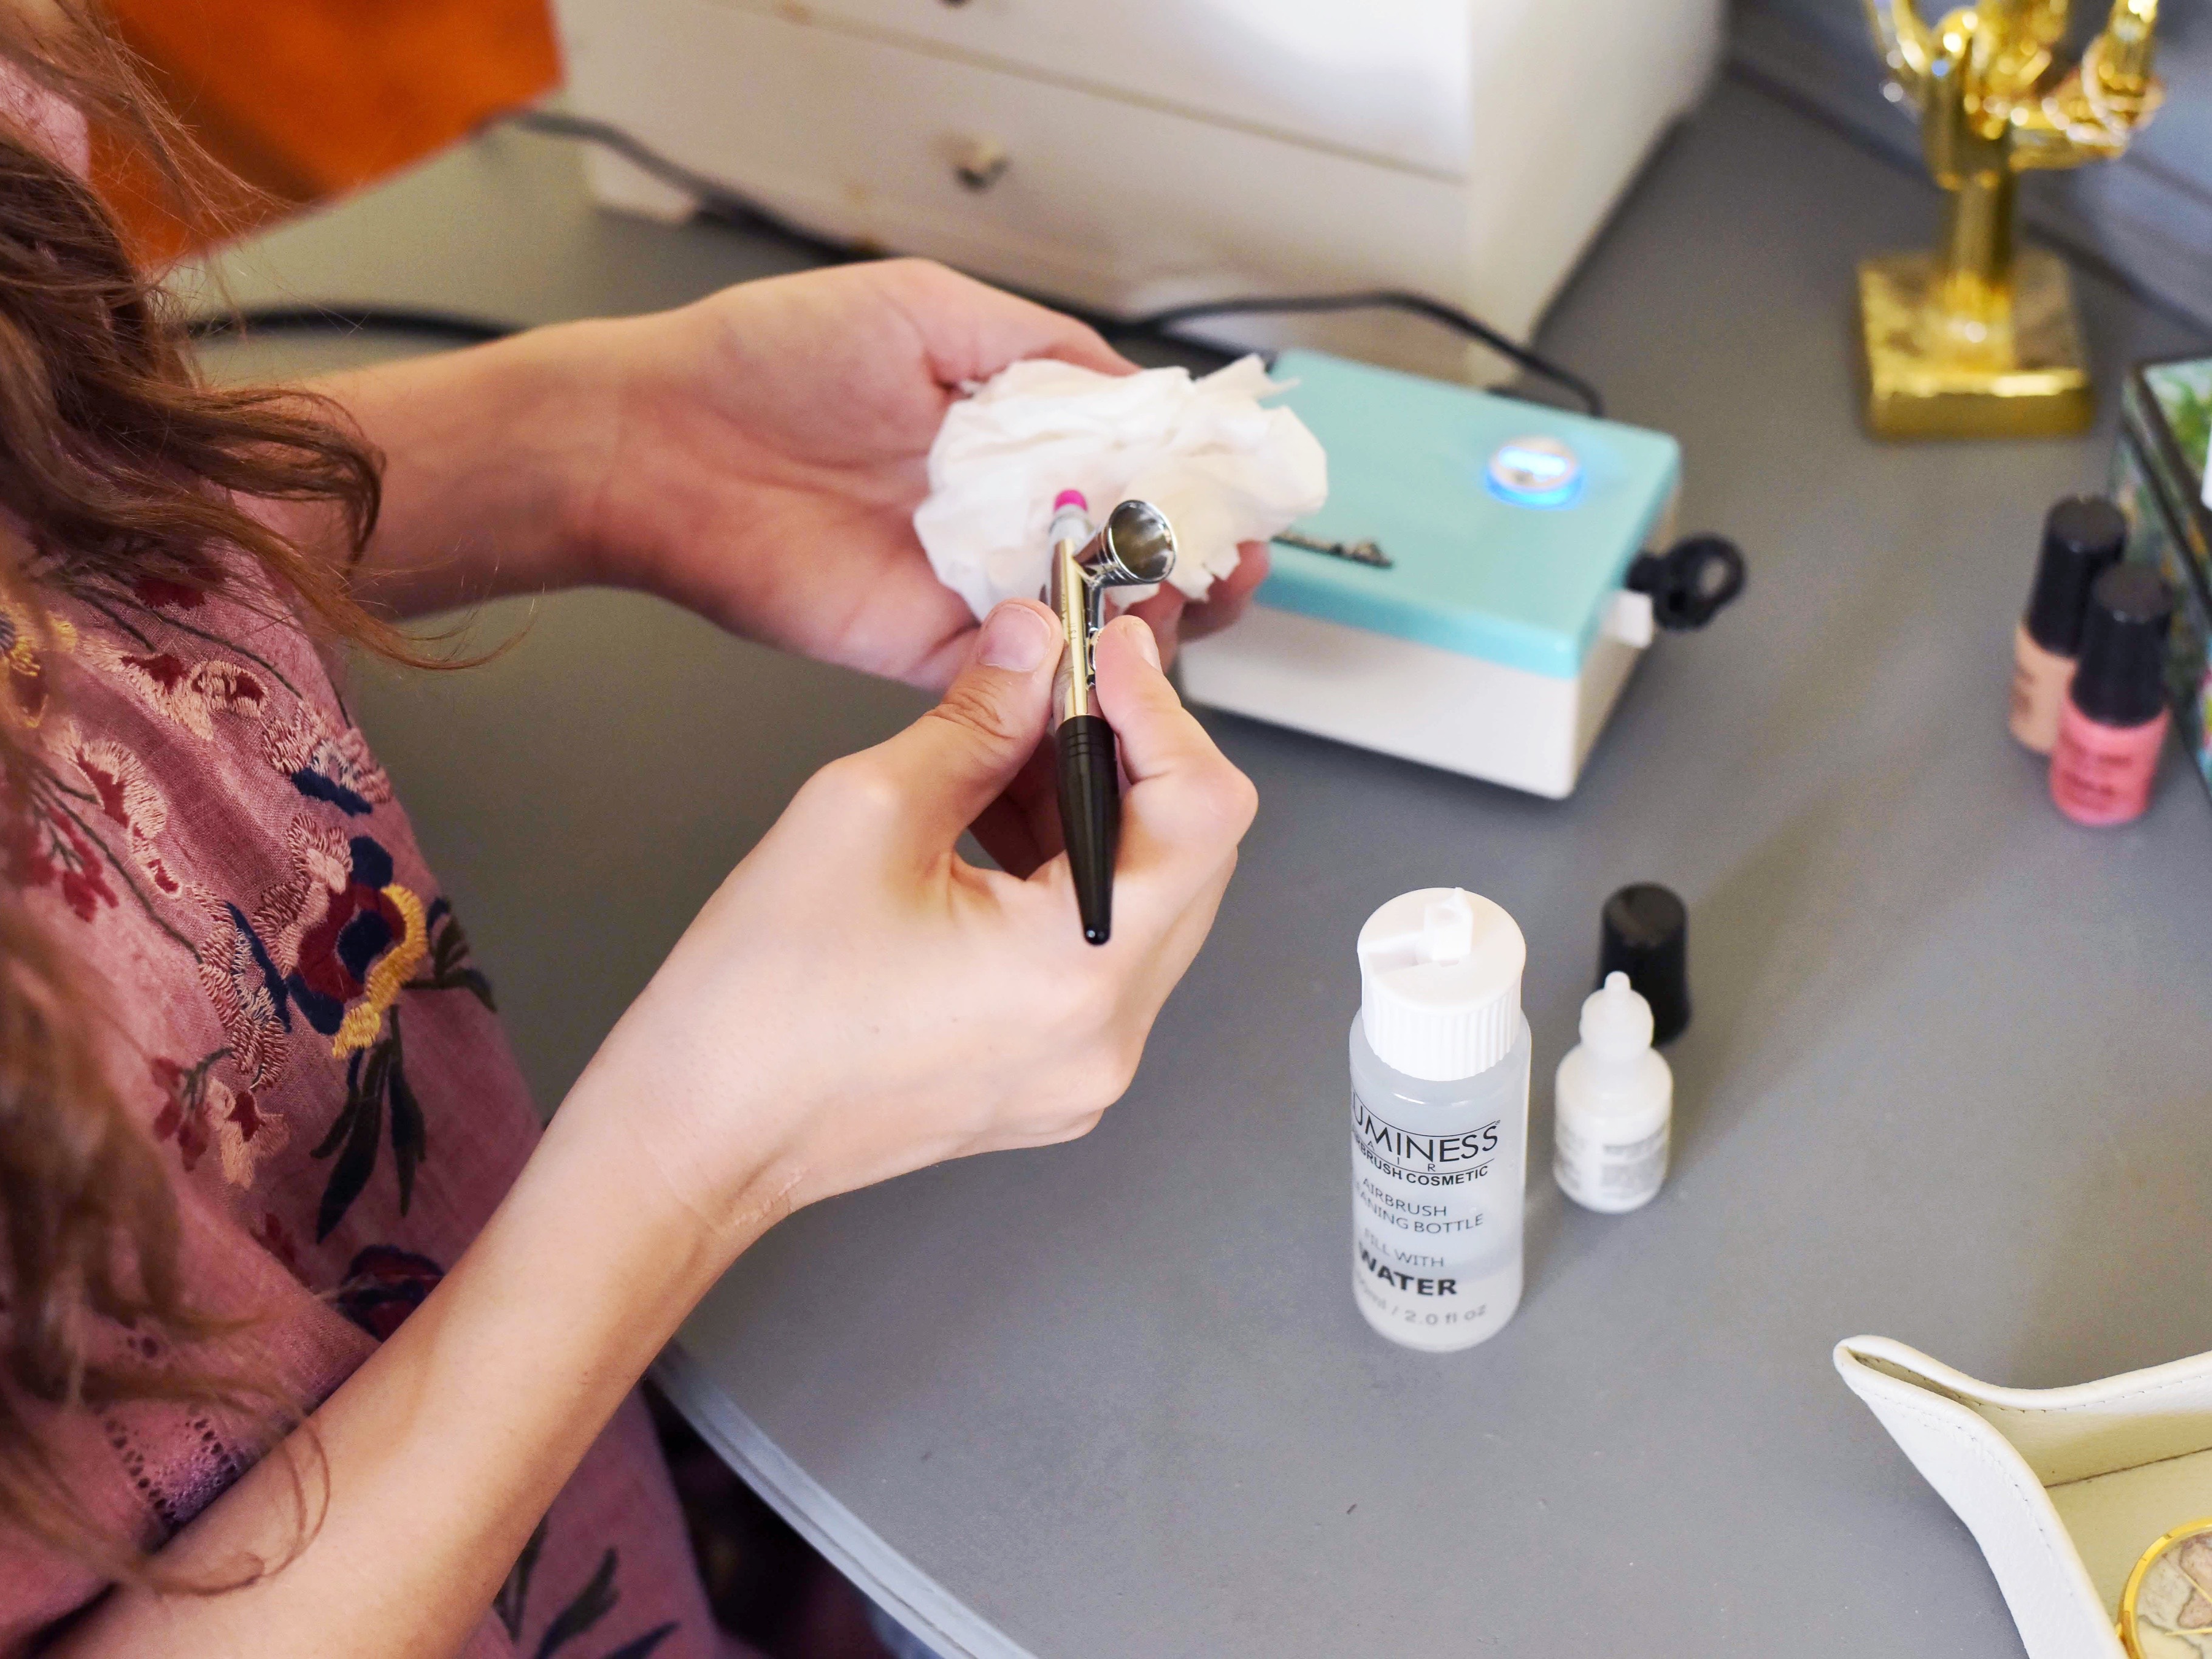
Clean out your airbrush. In between different shades and types of makeup, it’s important to clean out the airbrush. The kit comes with a handy little bottle for squeezing out just the right amount of water for cleaning.
Pull the trigger allll the way back to spray out any excess makeup into a paper towel.
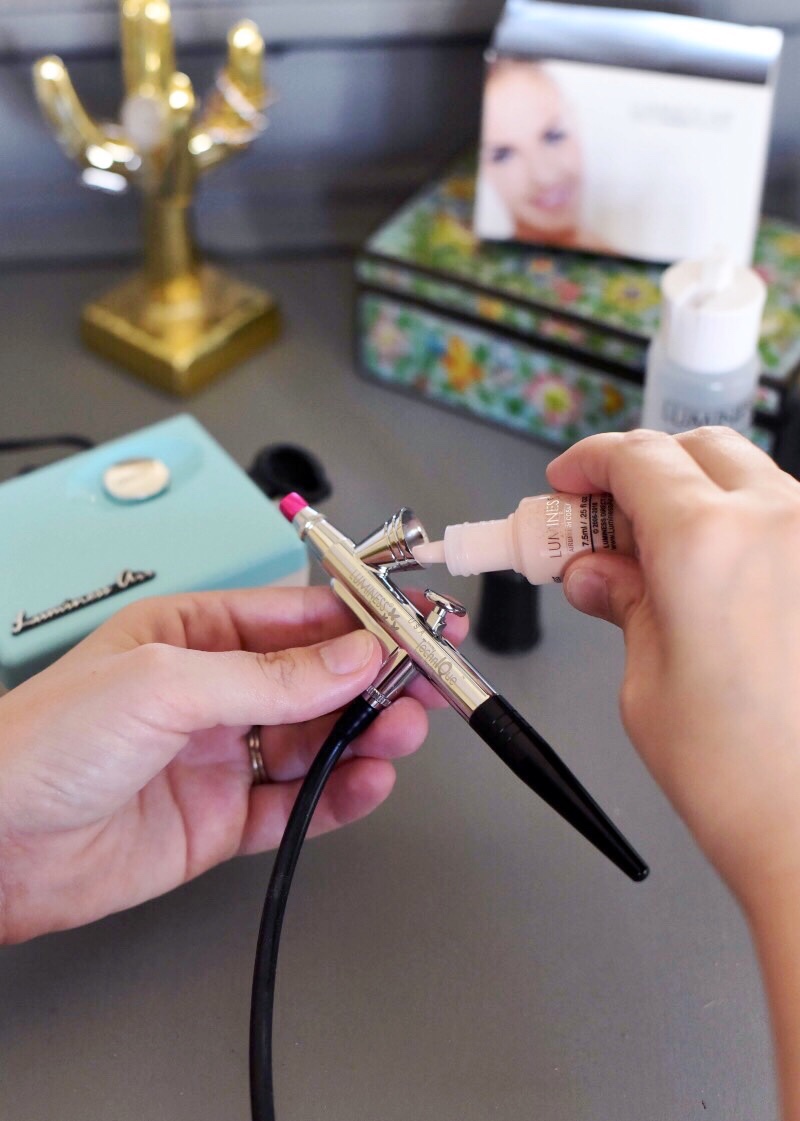
Luminess Air Airbrush System Step 3: Fill your Luminess Air Airbrush System with Foundation
The Luminess Legend System will come with several different shades for you to choose from. I tried a few shades out on my palm before deciding to go with shade no. 1, the lightest of all! #paleisthenewtan
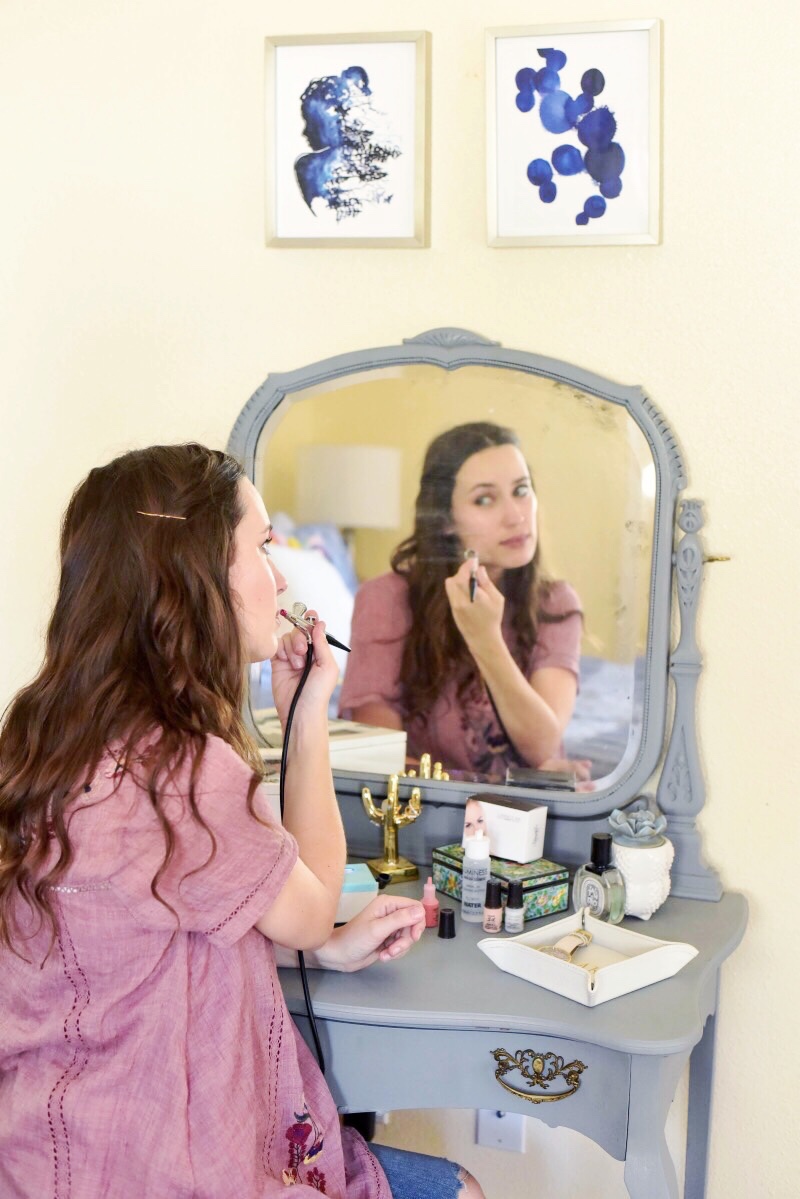
Apply the foundation all over your face & neck, pulling the trigger back just a little bit as to not cake it on too much.
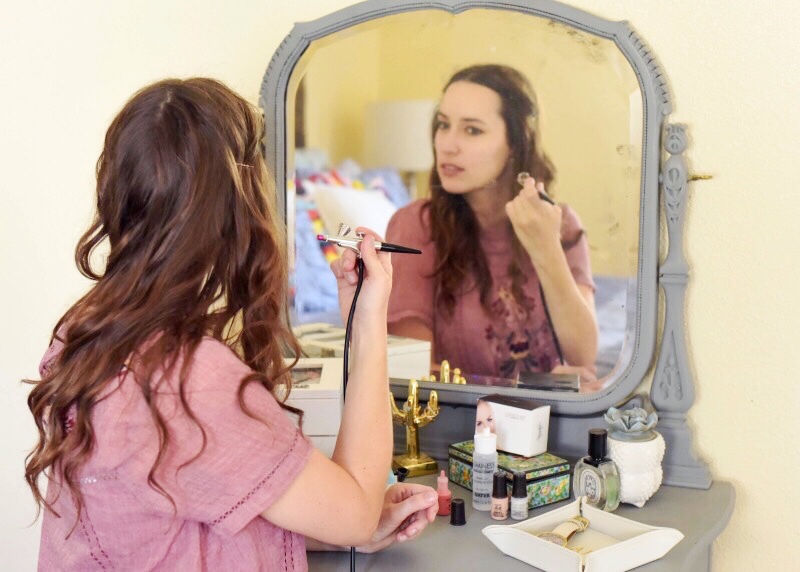
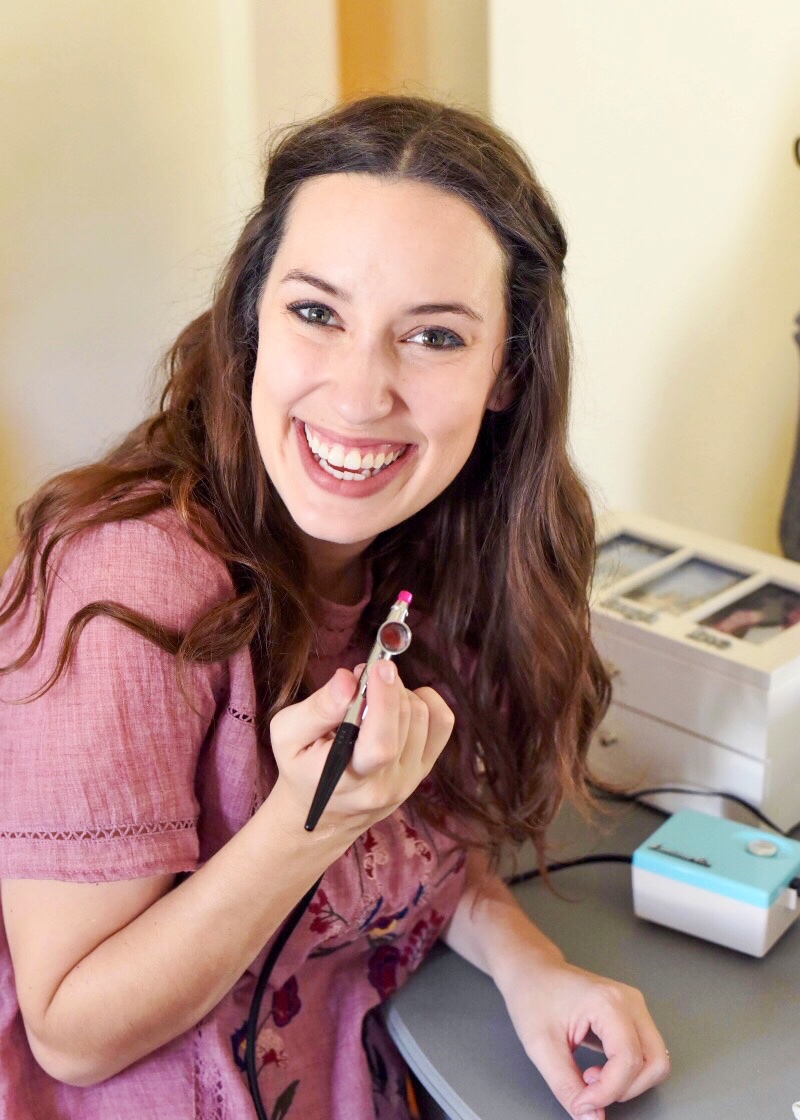
As Lauren was taking these photos, I couldn’t help but laugh at how serious I looked while applying the makeup. Concentration is key!! 😉
Luminess Air Airbrush System Step 4: Clean your Luminess Air Airbrush System Out Again
While your foundation dries, clean out your stylus again to remove all of the foundation before applying the blush.
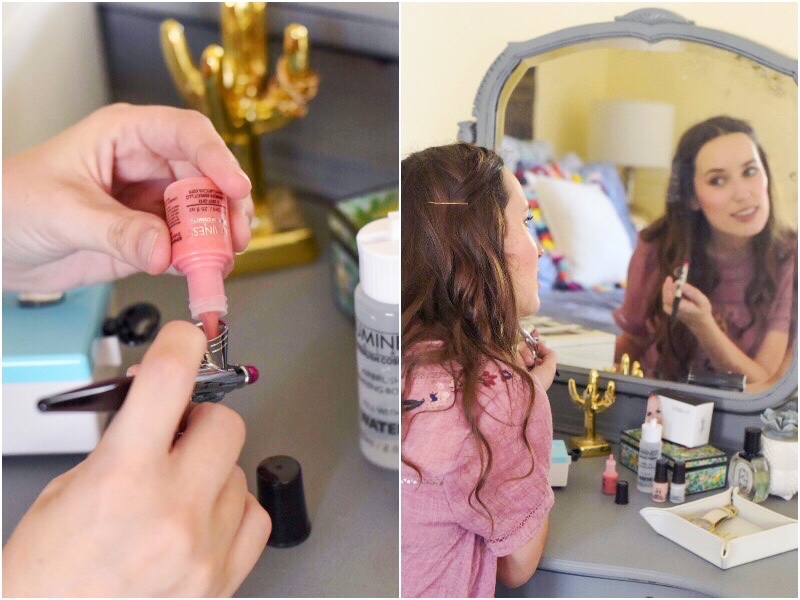
Luminess Air Airbrush System Step 5: Blast the Blush
Applying airbrushed blush, in my opinion, was the trickiest part of the experience. Making sure you are holding the stylus far enough away from your face is the key to avoiding any caked on sort of look. Aim for where you usually apply your blush, and you’ll be golden!
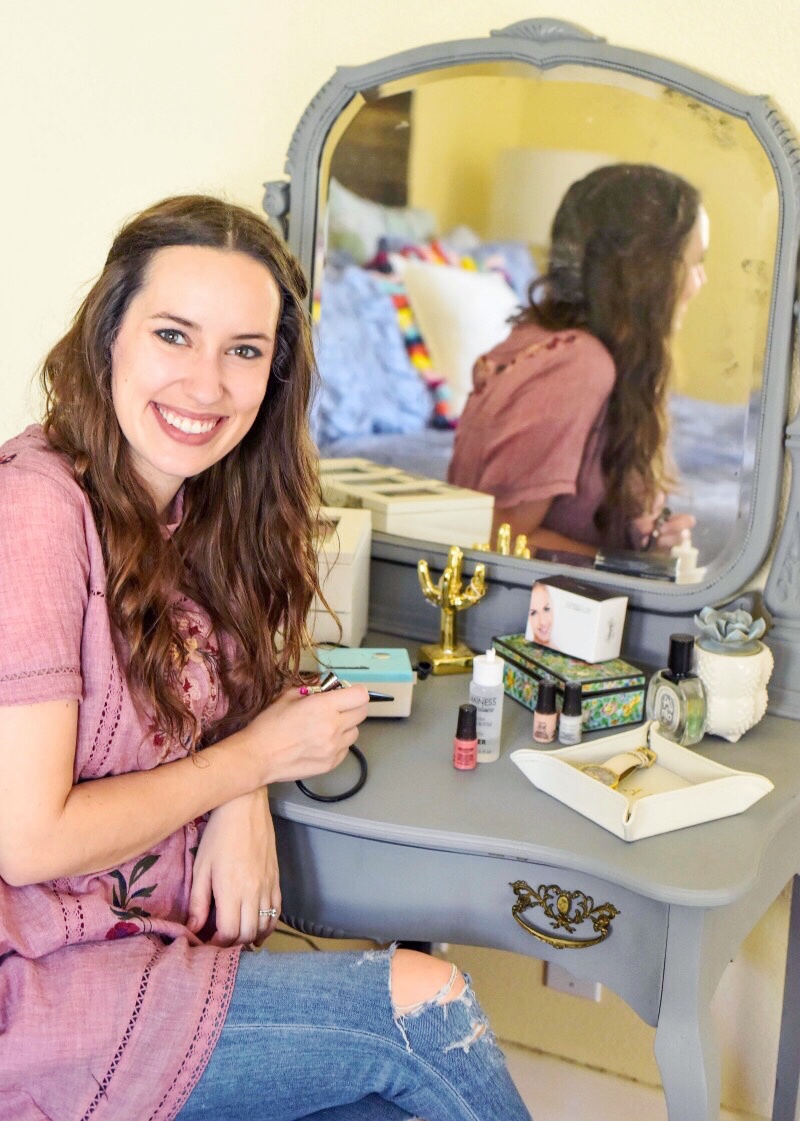
Vanity Favorites:
Luminess Air Airbrush System Step 6: Finish the Face
Ta-da! Airbrushed makeup in the comfort of my bedroom! I came out and showed Patrick and his response was, “wow!” (In a good way!) The airbrushed makeup with the Luminess Air Airbrush System looked and felt so natural. It even gave off a polished finished with a hint of shine, which is perfect for a big event or special photos!
Afterwards, I applied a bit of setting powder and my usual eyeshadow, eyeliner & mascara. You can definitely airbrush on your eye makeup too, but I’m going to need to practice that one a bit more before it makes an appearance on the blog! 😉
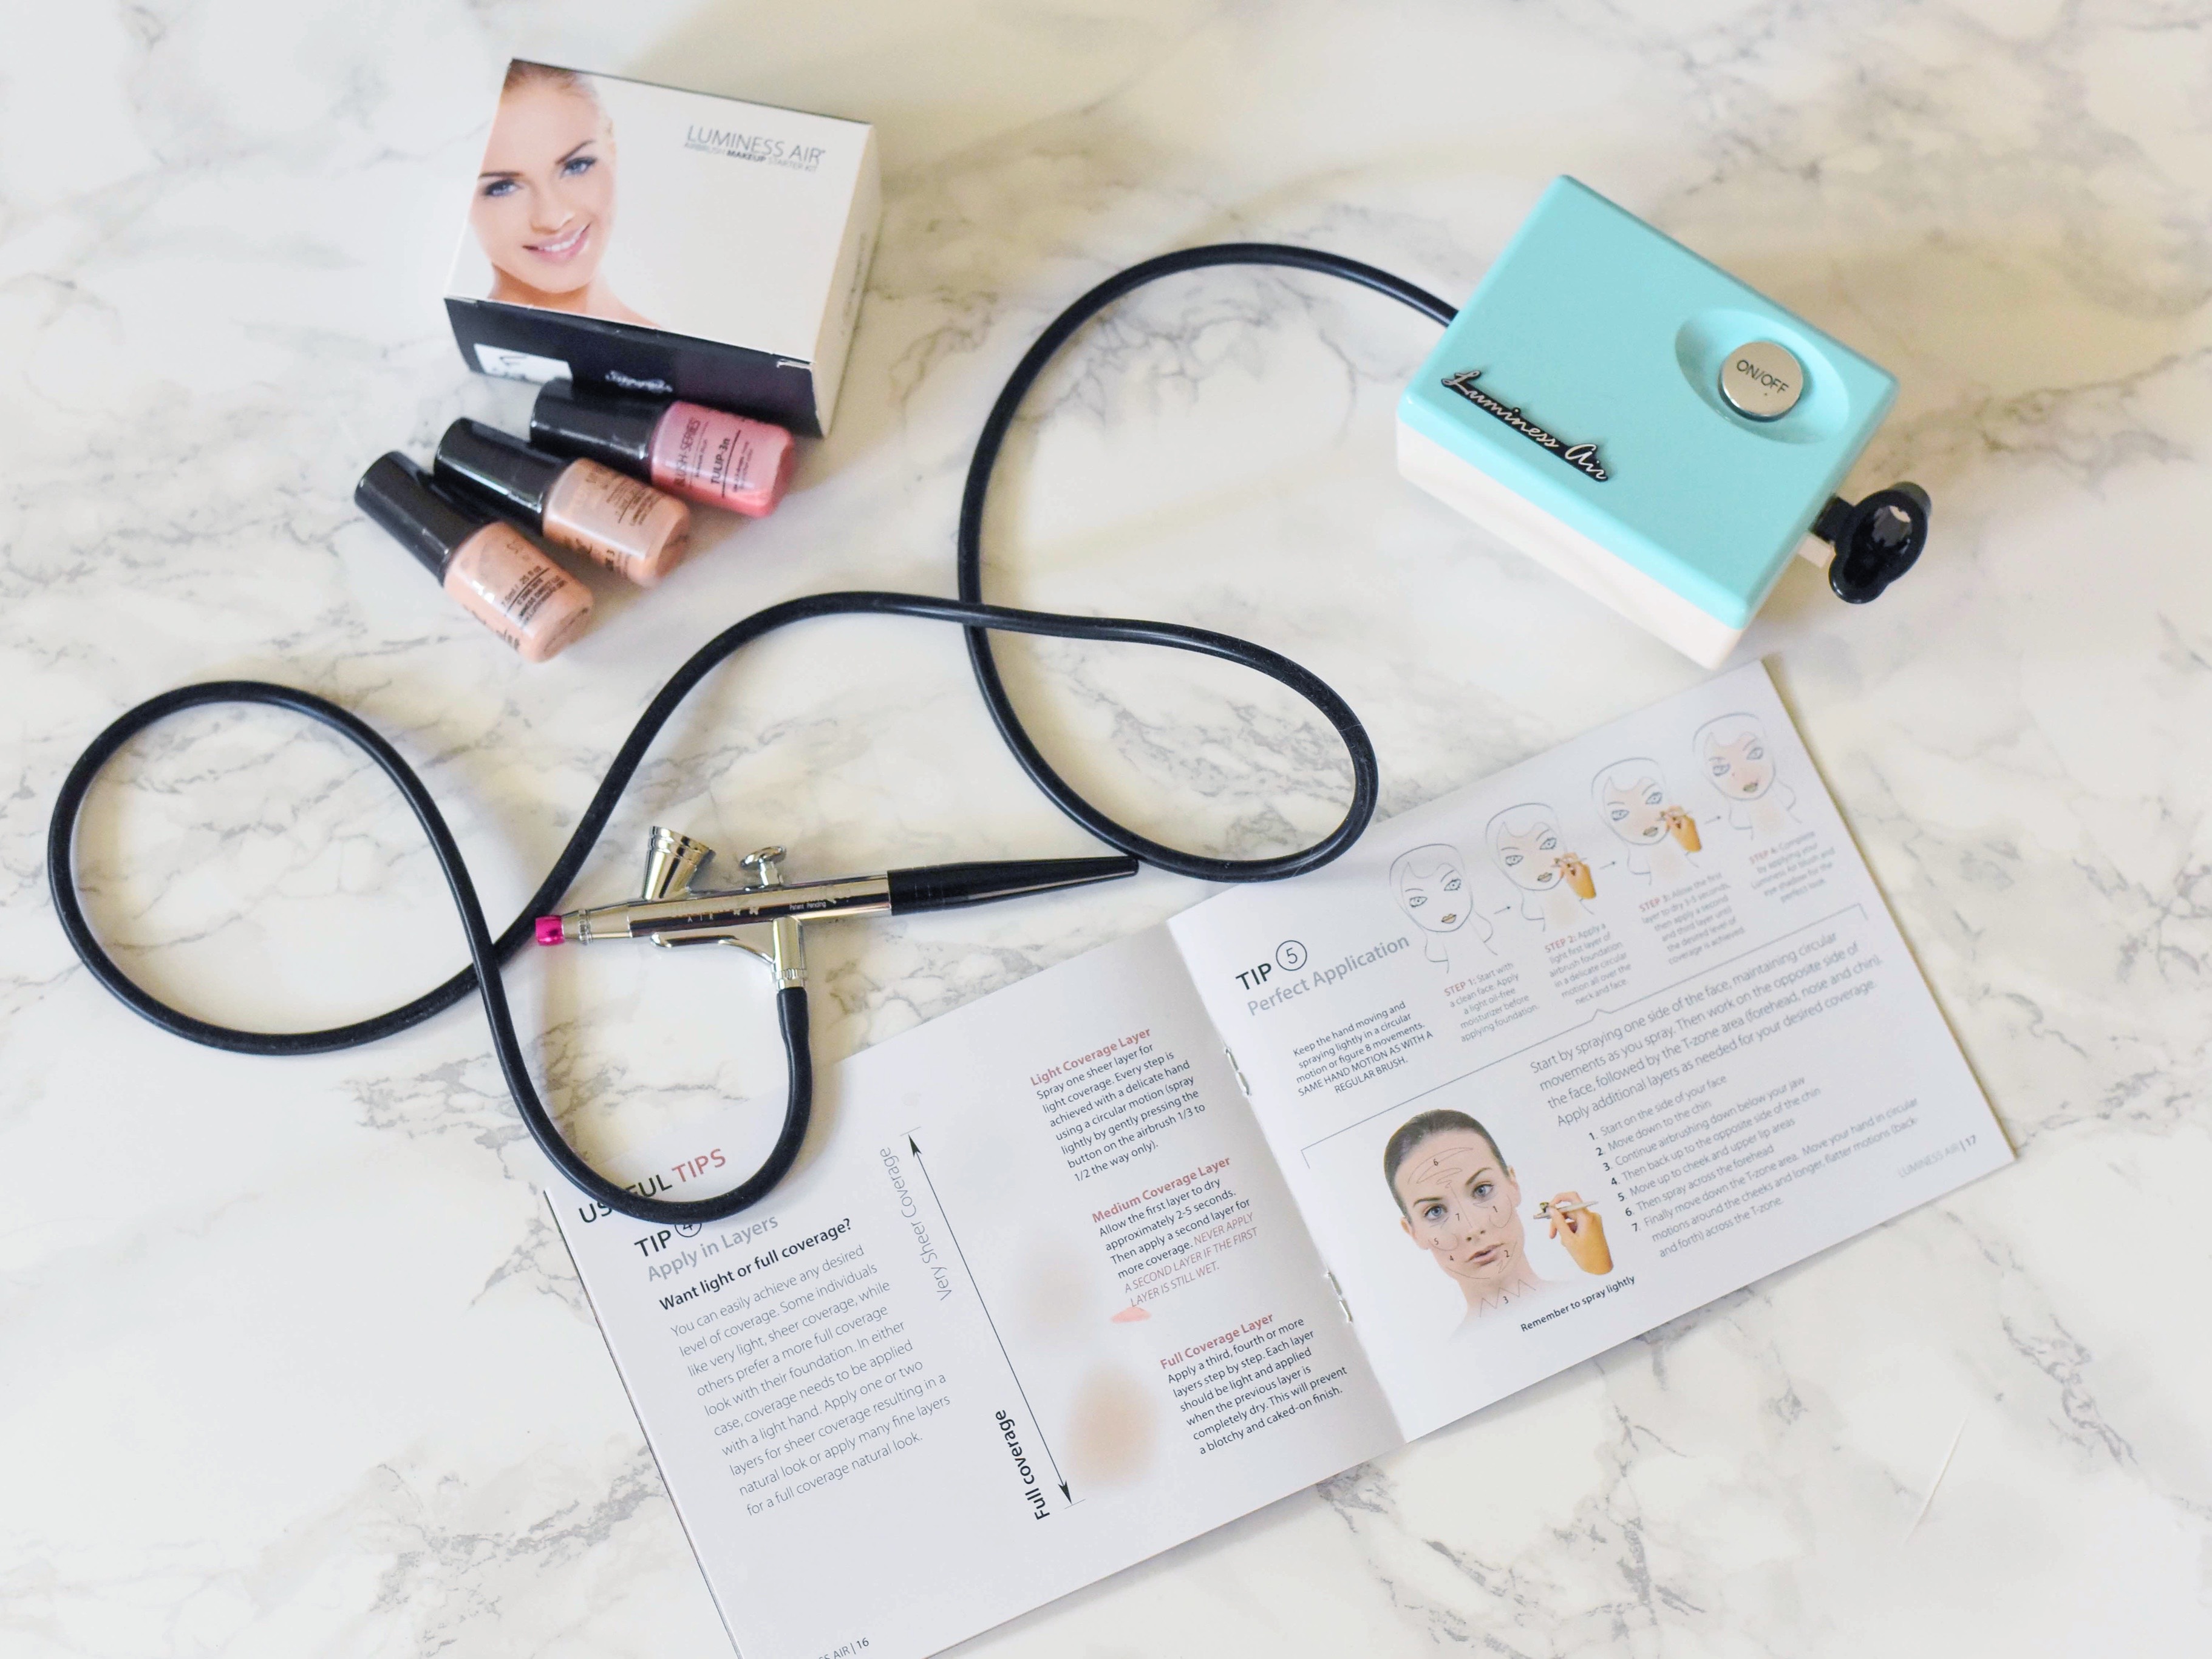
Along with the handy how-to book that comes with the kit, Luminess Air’s website has so many great videos & tutorials on the site to help you achieve the look you’re going for. There’s even an app too!
The Luminess Air Airbrush System has a higher price tag, but if you think about it, it pretty much equals the cost of getting your makeup professionally done (plus a tip) just TWO times! Now I’m looking forward to the next wedding or get-together with my girlfriends, in the hopes that they let me give them all airbrush makeovers! (On the house, of course!)
Have you all gotten an airbrush makeover before? Have you tried the Luminess Air Airbrush System? If so, what did you think? And as always, thanks for stopping by the blog!
—
alice
photos by LA Photography
*Thanks to Luminess Air for sponsoring this post. & Thanks to you for supporting brands that make Lone Star Looking Glass possible!*
